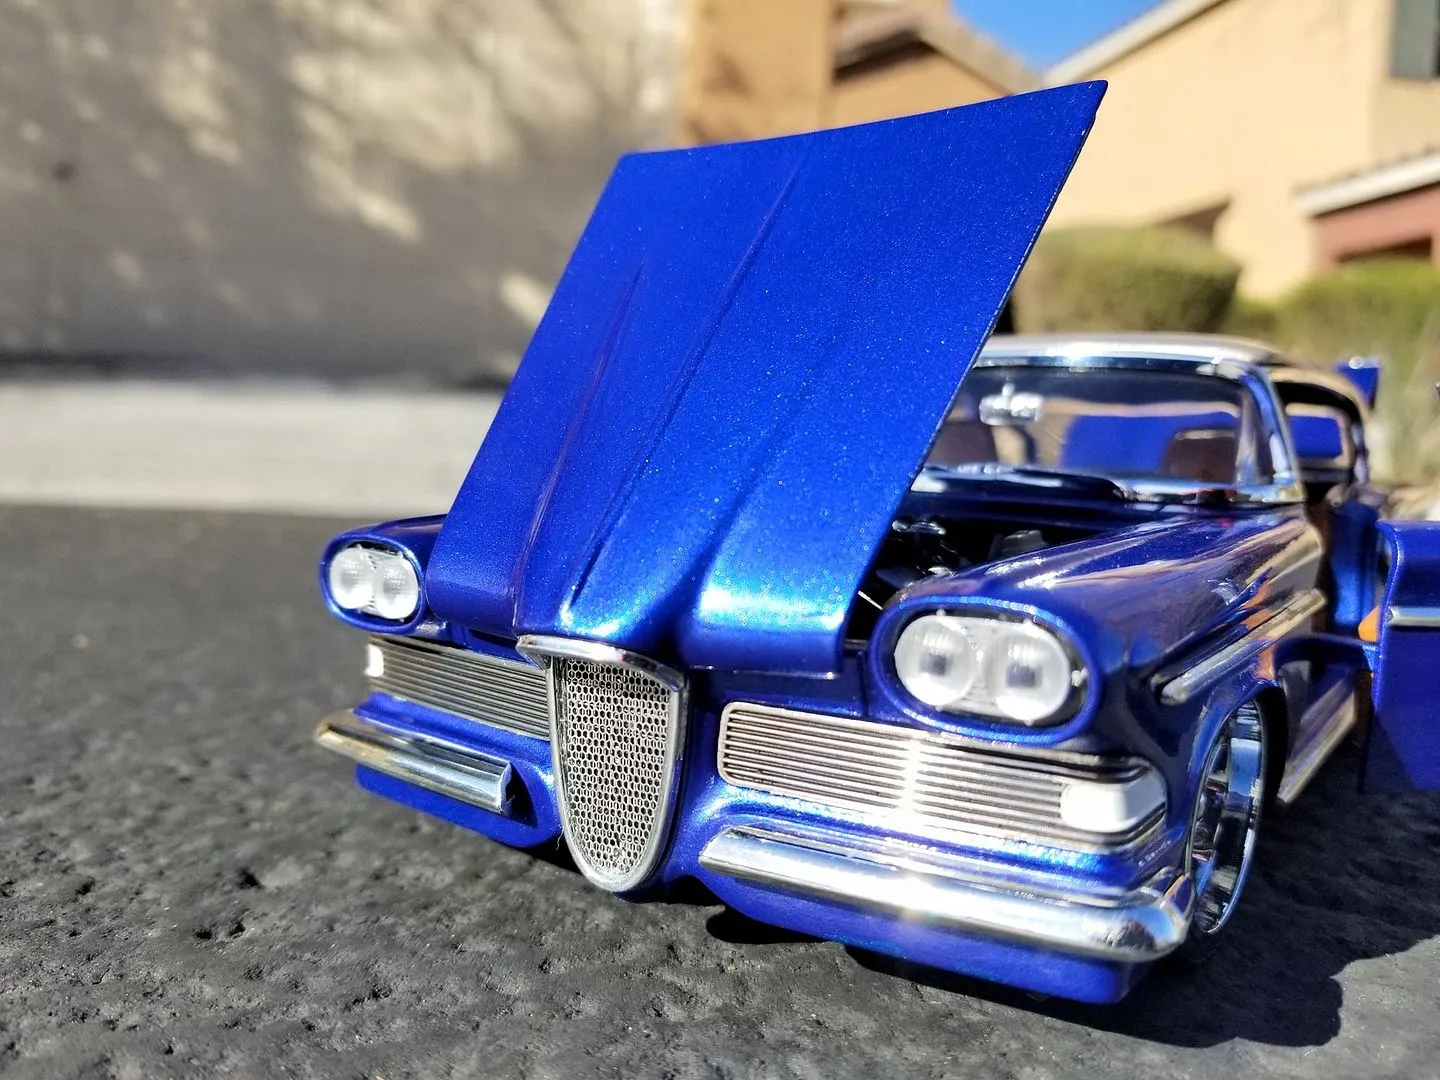
Diecast car customization is a rewarding hobby that allows you to express your creativity and transform ordinary model cars into unique collectibles. This guide provides a fast track to customizing your diecast cars, offering essential tools, techniques, and tips to get you started quickly. Whether you’re a beginner or have some experience, you’ll find valuable information to enhance your skills and create stunning custom diecast models. Let’s dive in and discover how you can customize diecast cars fast and effectively.
Essential Tools for Diecast Car Customization
Before you begin customizing your diecast cars, gathering the right tools is crucial. Having the appropriate equipment ensures your projects run smoothly and the results are professional. You don’t need to break the bank initially; starting with basic tools and upgrading as your skills develop is a good approach. The right tools make the difference between a frustrating experience and a fulfilling one, allowing you to enjoy the process and achieve the desired results.
Basic Tools You’ll Need
For basic customization, several tools are essential. A set of small screwdrivers, especially Phillips and flathead, is necessary for disassembling the car. Hobby knives or X-ACTO knives are helpful for cutting decals, removing flash, and other detail work. Sandpaper in various grits is important for preparing surfaces for painting. You’ll also need pliers, tweezers for handling small parts, and a cutting mat to protect your work surface. A good work light is crucial for clear visibility, and a well-ventilated workspace is essential for safety.
Advanced Tools for Detailing
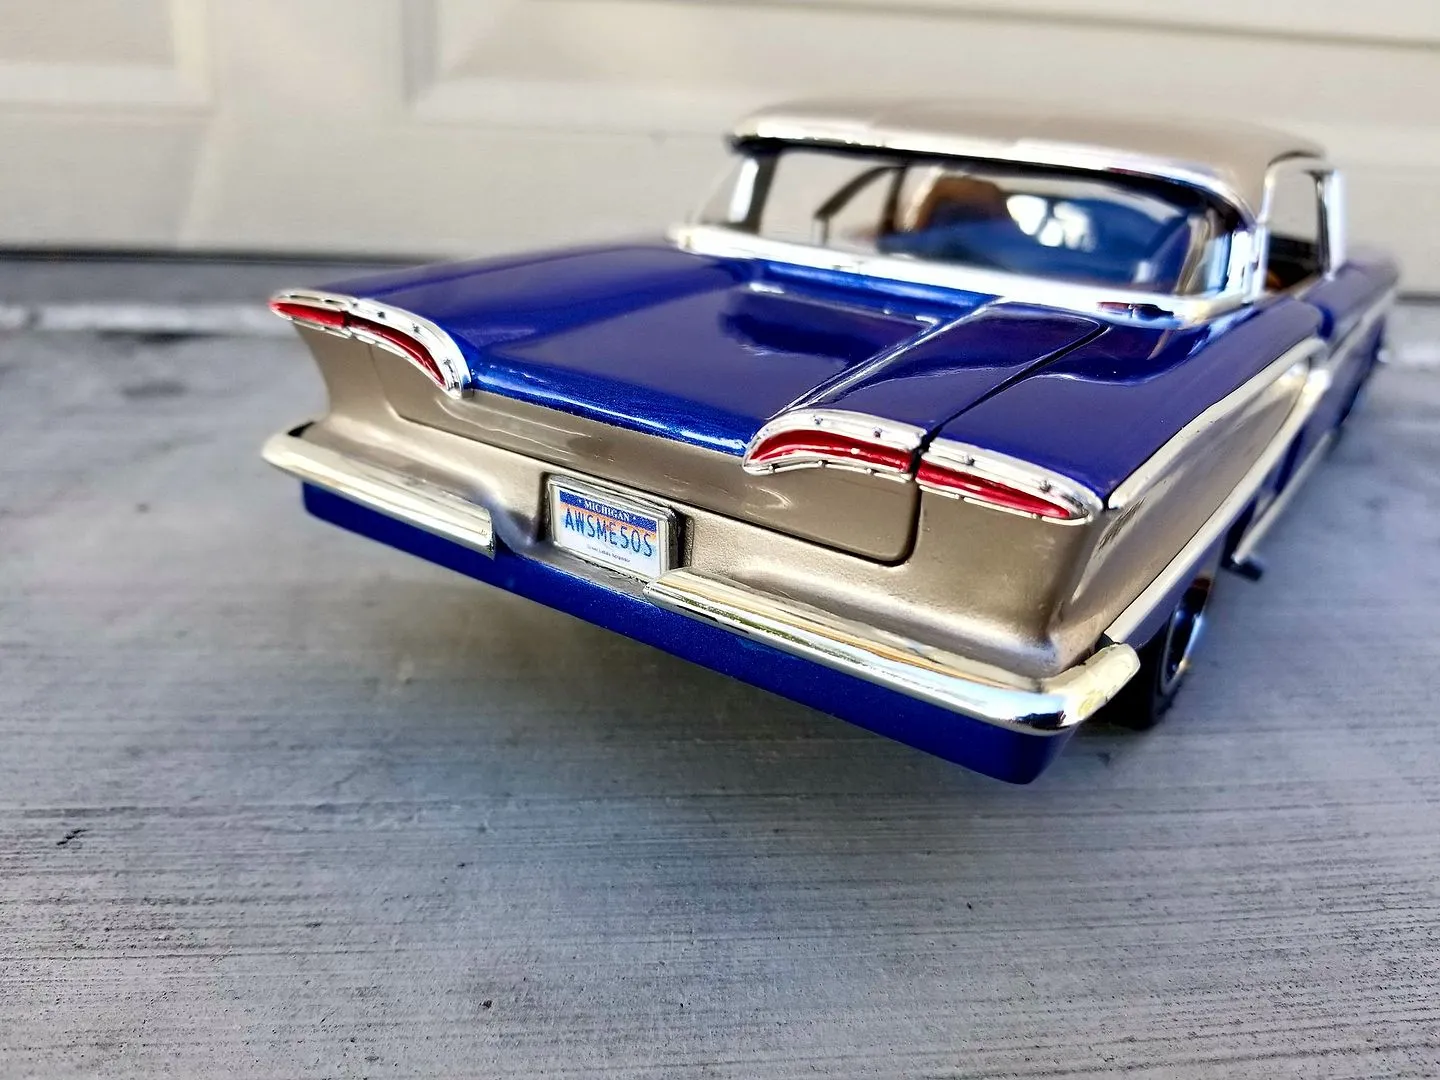
As you progress, you may want to invest in more advanced tools. An airbrush and compressor offer superior paint control and allow for smooth, even coats. Detail brushes in various sizes are important for painting small parts and adding fine details. A pin vise with small drill bits is useful for drilling holes for custom modifications. Magnifying glasses or a head-mounted magnifier can significantly aid in detailed work. Furthermore, a rotary tool with various attachments can be invaluable for removing paint and shaping parts.
Preparing Your Diecast Car for Customization
Proper preparation is key to achieving a professional-looking custom diecast car. Taking the time to prepare your model will make a noticeable difference in the final result. This includes disassembling the car carefully, removing the original paint, and ensuring all surfaces are clean and smooth. Skipping these steps can lead to paint imperfections and other issues, so it’s worth investing the effort in preparation to ensure a high-quality finish. This stage sets the stage for your creative vision.
Disassembly Process
Carefully disassemble your diecast car, which usually involves removing the base, interior, windows, and any other parts that can be detached. Use the appropriate screwdrivers to remove screws without stripping them. Take photos of the car before disassembly for reference when reassembling. Keep all screws and small parts organized in a labeled container to avoid losing them. If any parts are glued together, use a hobby knife to carefully separate them. Patience and attention to detail are crucial during this step.
Removing the Paint
Removing the original paint is essential to start with a clean surface. There are several methods for paint removal. Chemical strippers are effective but require careful handling and a well-ventilated area. Alternatively, you can use a gentle method such as soaking the body in isopropyl alcohol or using a mild abrasive, like baking soda, with water and a toothbrush. Be careful not to damage the underlying metal or plastic. After removing the paint, thoroughly clean and dry the body.
Surface Preparation Techniques
Once the paint is removed, inspect the surface for any imperfections, such as scratches or mold lines. Use sandpaper of various grits to smooth the surface and create a uniform texture. Start with a coarser grit to remove any major imperfections and gradually move to finer grits to polish the surface. After sanding, clean the surface thoroughly with a degreaser to remove any residue. Proper surface preparation ensures that the new paint adheres correctly and provides a smooth, professional finish. This stage is extremely important.
Custom Painting Techniques
Painting is where your creativity truly shines. The type of paint and application method significantly impact the final look of your custom diecast car. Understanding the options, from paint types to different application methods, is vital to achieve a professional finish. Experimenting with different techniques and colors will allow you to develop a unique style and personalize your models. A well-executed paint job enhances the overall appearance of your model and makes it a standout piece.
Choosing the Right Paint
The best type of paint for diecast cars is typically acrylic lacquer or enamel paints. Acrylic lacquers dry quickly, offer a smooth finish, and are easy to work with. Enamel paints provide a durable finish but take longer to dry. Automotive paints, specifically designed for car models, are also a good choice. Regardless of the paint type, always use a primer designed for the material of the car body (metal or plastic). Choose a primer color that complements your final paint color. Consider the finish you want matte, satin, or gloss and select the appropriate paint accordingly.
Airbrushing vs. Spray Cans
Airbrushing provides the most control over the paint application, allowing for even coats and detailed work. However, it requires an investment in an airbrush and compressor and some practice to master. Spray cans are a more accessible option for beginners, offering ease of use and a wide range of colors. When using spray cans, ensure you apply thin, even coats, allowing each coat to dry before applying the next. Always spray in a well-ventilated area and use proper safety equipment, such as a respirator.
Applying Decals and Details
Decals and details add realism and personality to your model. Apply decals after the paint has completely dried. Carefully cut out the decal and soak it in water until it releases from the backing paper. Position the decal on the model and gently press it down, removing any air bubbles with a soft cloth. Use decal setting solutions to help the decal conform to the surface and decal solvents to soften the decal. For added details, use fine-tipped brushes and detail paints to paint headlights, taillights, trim, and other elements.
Adding Custom Wheels and Tires
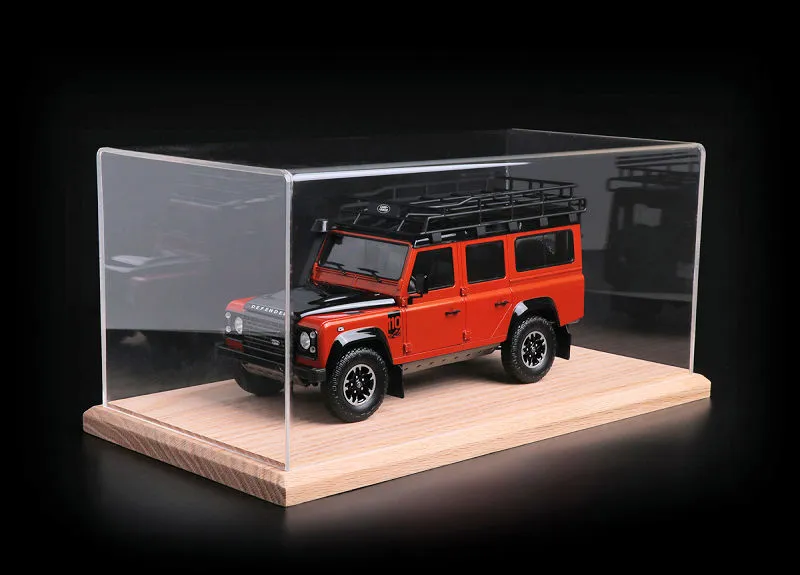
Upgrading the wheels and tires can dramatically change the look of your diecast car. There is a wide variety of aftermarket wheels and tires available. Choosing the right wheels and tires is essential to achieve the desired aesthetic. Ensure the wheels fit properly and the tires are compatible with the chassis. This can range from simple modifications to advanced installations.
Selecting the Right Wheels
When selecting wheels, consider the style, size, and material. Aftermarket wheels come in various styles, from classic to modern. Measure the original wheels to determine the appropriate size. Ensure that the new wheels will fit the car’s chassis and do not interfere with the body or suspension. Consider the material of the wheels; metal wheels offer more realism, while plastic wheels are often easier to work with. Also, match the wheels with your car’s overall style and theme to achieve a cohesive look.
Installing Wheels and Tires
Installing wheels and tires involves removing the original wheels and attaching the new ones. This may involve cutting or modifying the axles or using adapters to fit the new wheels. Ensure the wheels rotate freely without rubbing against the body or chassis. Use a strong adhesive or glue to secure the wheels if necessary. If the tires are separate from the wheels, use a suitable adhesive to glue them in place. Careful installation ensures that your custom car not only looks great but also functions properly.
Interior Customization
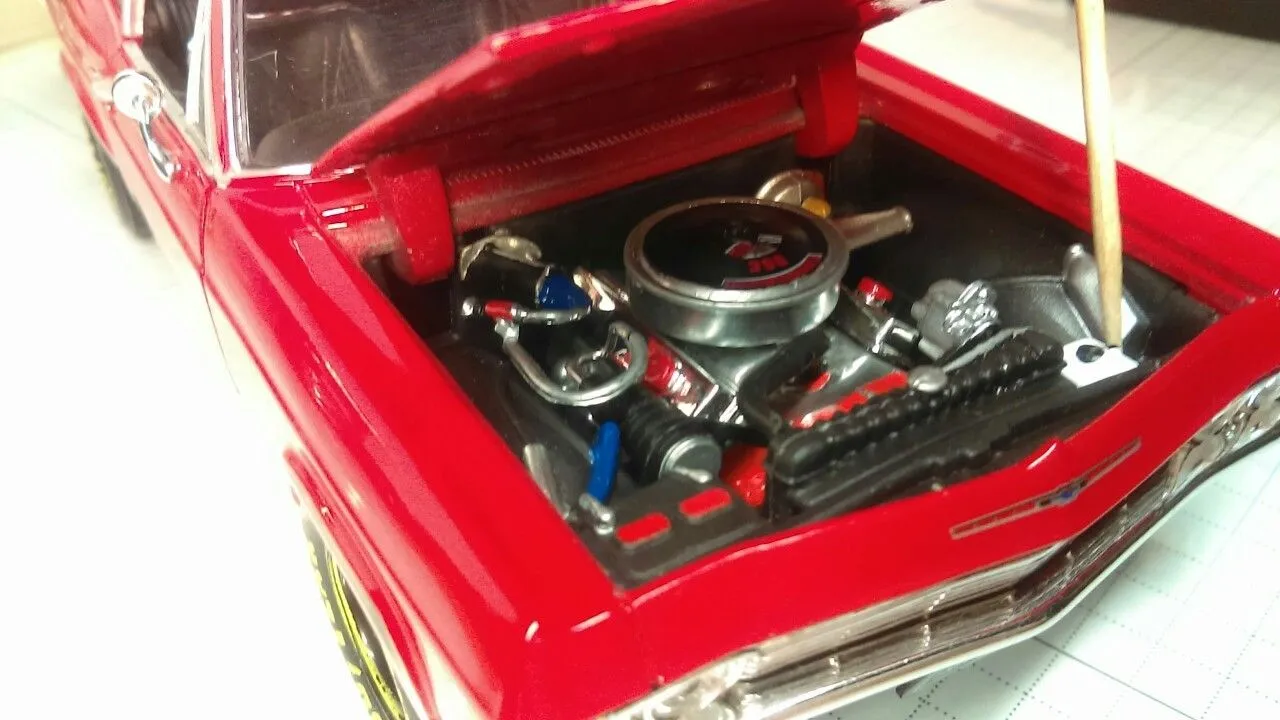
The interior of your diecast car offers another opportunity for customization. Modifying the interior can add a level of realism and detail that elevates the overall look of the model. There is a wide range of possibilities from simple modifications to a complete overhaul.
Modifying the Interior
Start by removing the interior components, such as the seats, dashboard, and door panels. You can customize these parts by repainting them, adding flocking to simulate carpet, or adding custom decals. Consider replacing the original seats with more detailed aftermarket seats. Fabricate custom dashboards and consoles using plastic or other materials. For added realism, use photo-etched parts to create detailed gauges and other interior features. Take your time and pay attention to detail to create a realistic and visually appealing interior.
Adding Custom Details
Adding custom details can greatly enhance the look of the interior. Create seatbelts using thin strips of fabric or photo-etched parts. Add custom steering wheels and shift knobs. Use small details, such as interior lights, to add realism. Consider adding a custom sound system or roll cage for a racing-inspired look. The key is to enhance the details for creating a unique look. When adding details, focus on quality and consistency for a realistic effect.
Final Assembly and Detailing
Once you’ve customized the exterior, wheels, and interior, it’s time for the final assembly and detailing. This step brings everything together and ensures that your custom car is ready for display. Careful attention to detail during the final stages will make a big difference in the overall result. It involves reassembling the car, adding finishing touches, and ensuring the model looks its best.
Reassembling Your Car
Carefully reassemble all the parts of your diecast car. Refer back to your photos taken during disassembly to ensure everything fits correctly. Make sure all screws and other fasteners are secure. Check the wheels to ensure they rotate freely and do not rub against any parts of the body or chassis. Take your time and double-check each step to avoid any mistakes that could affect the final result. A proper reassembly is important for the overall look.
Adding Finishing Touches
Add any remaining details, such as window glass, mirrors, and any small parts that were removed earlier. Clean any fingerprints or smudges from the car’s surface. Use a fine-tipped brush to touch up any areas that may need it. Apply a clear coat to protect the paint and add a glossy finish. Take your time to ensure that every aspect of your custom car looks perfect and ready for display. Pay close attention to details to create a show-quality model.
Protecting Your Custom Diecast Car
Protecting your custom diecast car will ensure it lasts for years to come. Proper care will prevent damage from dust, sunlight, and accidental handling. By protecting the model, it protects your investment and keeps it looking its best. This includes proper storage and cleaning to keep your model in pristine condition.
Store your custom diecast car in a display case or a dust-free environment. Avoid direct sunlight, as it can fade the paint and damage the decals. Handle the car with clean hands and avoid touching the painted surfaces. When cleaning the car, use a soft cloth and mild soap. Avoid using harsh chemicals that could damage the paint or details. Regular maintenance will ensure that your custom diecast car remains in pristine condition for many years.
Customizing diecast cars can be a fun and rewarding hobby. By following these steps, you can learn how to customize diecast cars quickly and with excellent results. From choosing the right tools to applying the final details, each step will enhance your skills. Remember, practice makes perfect, so don’t be afraid to experiment and try new techniques. Happy customizing!
