What Are Diecast Models
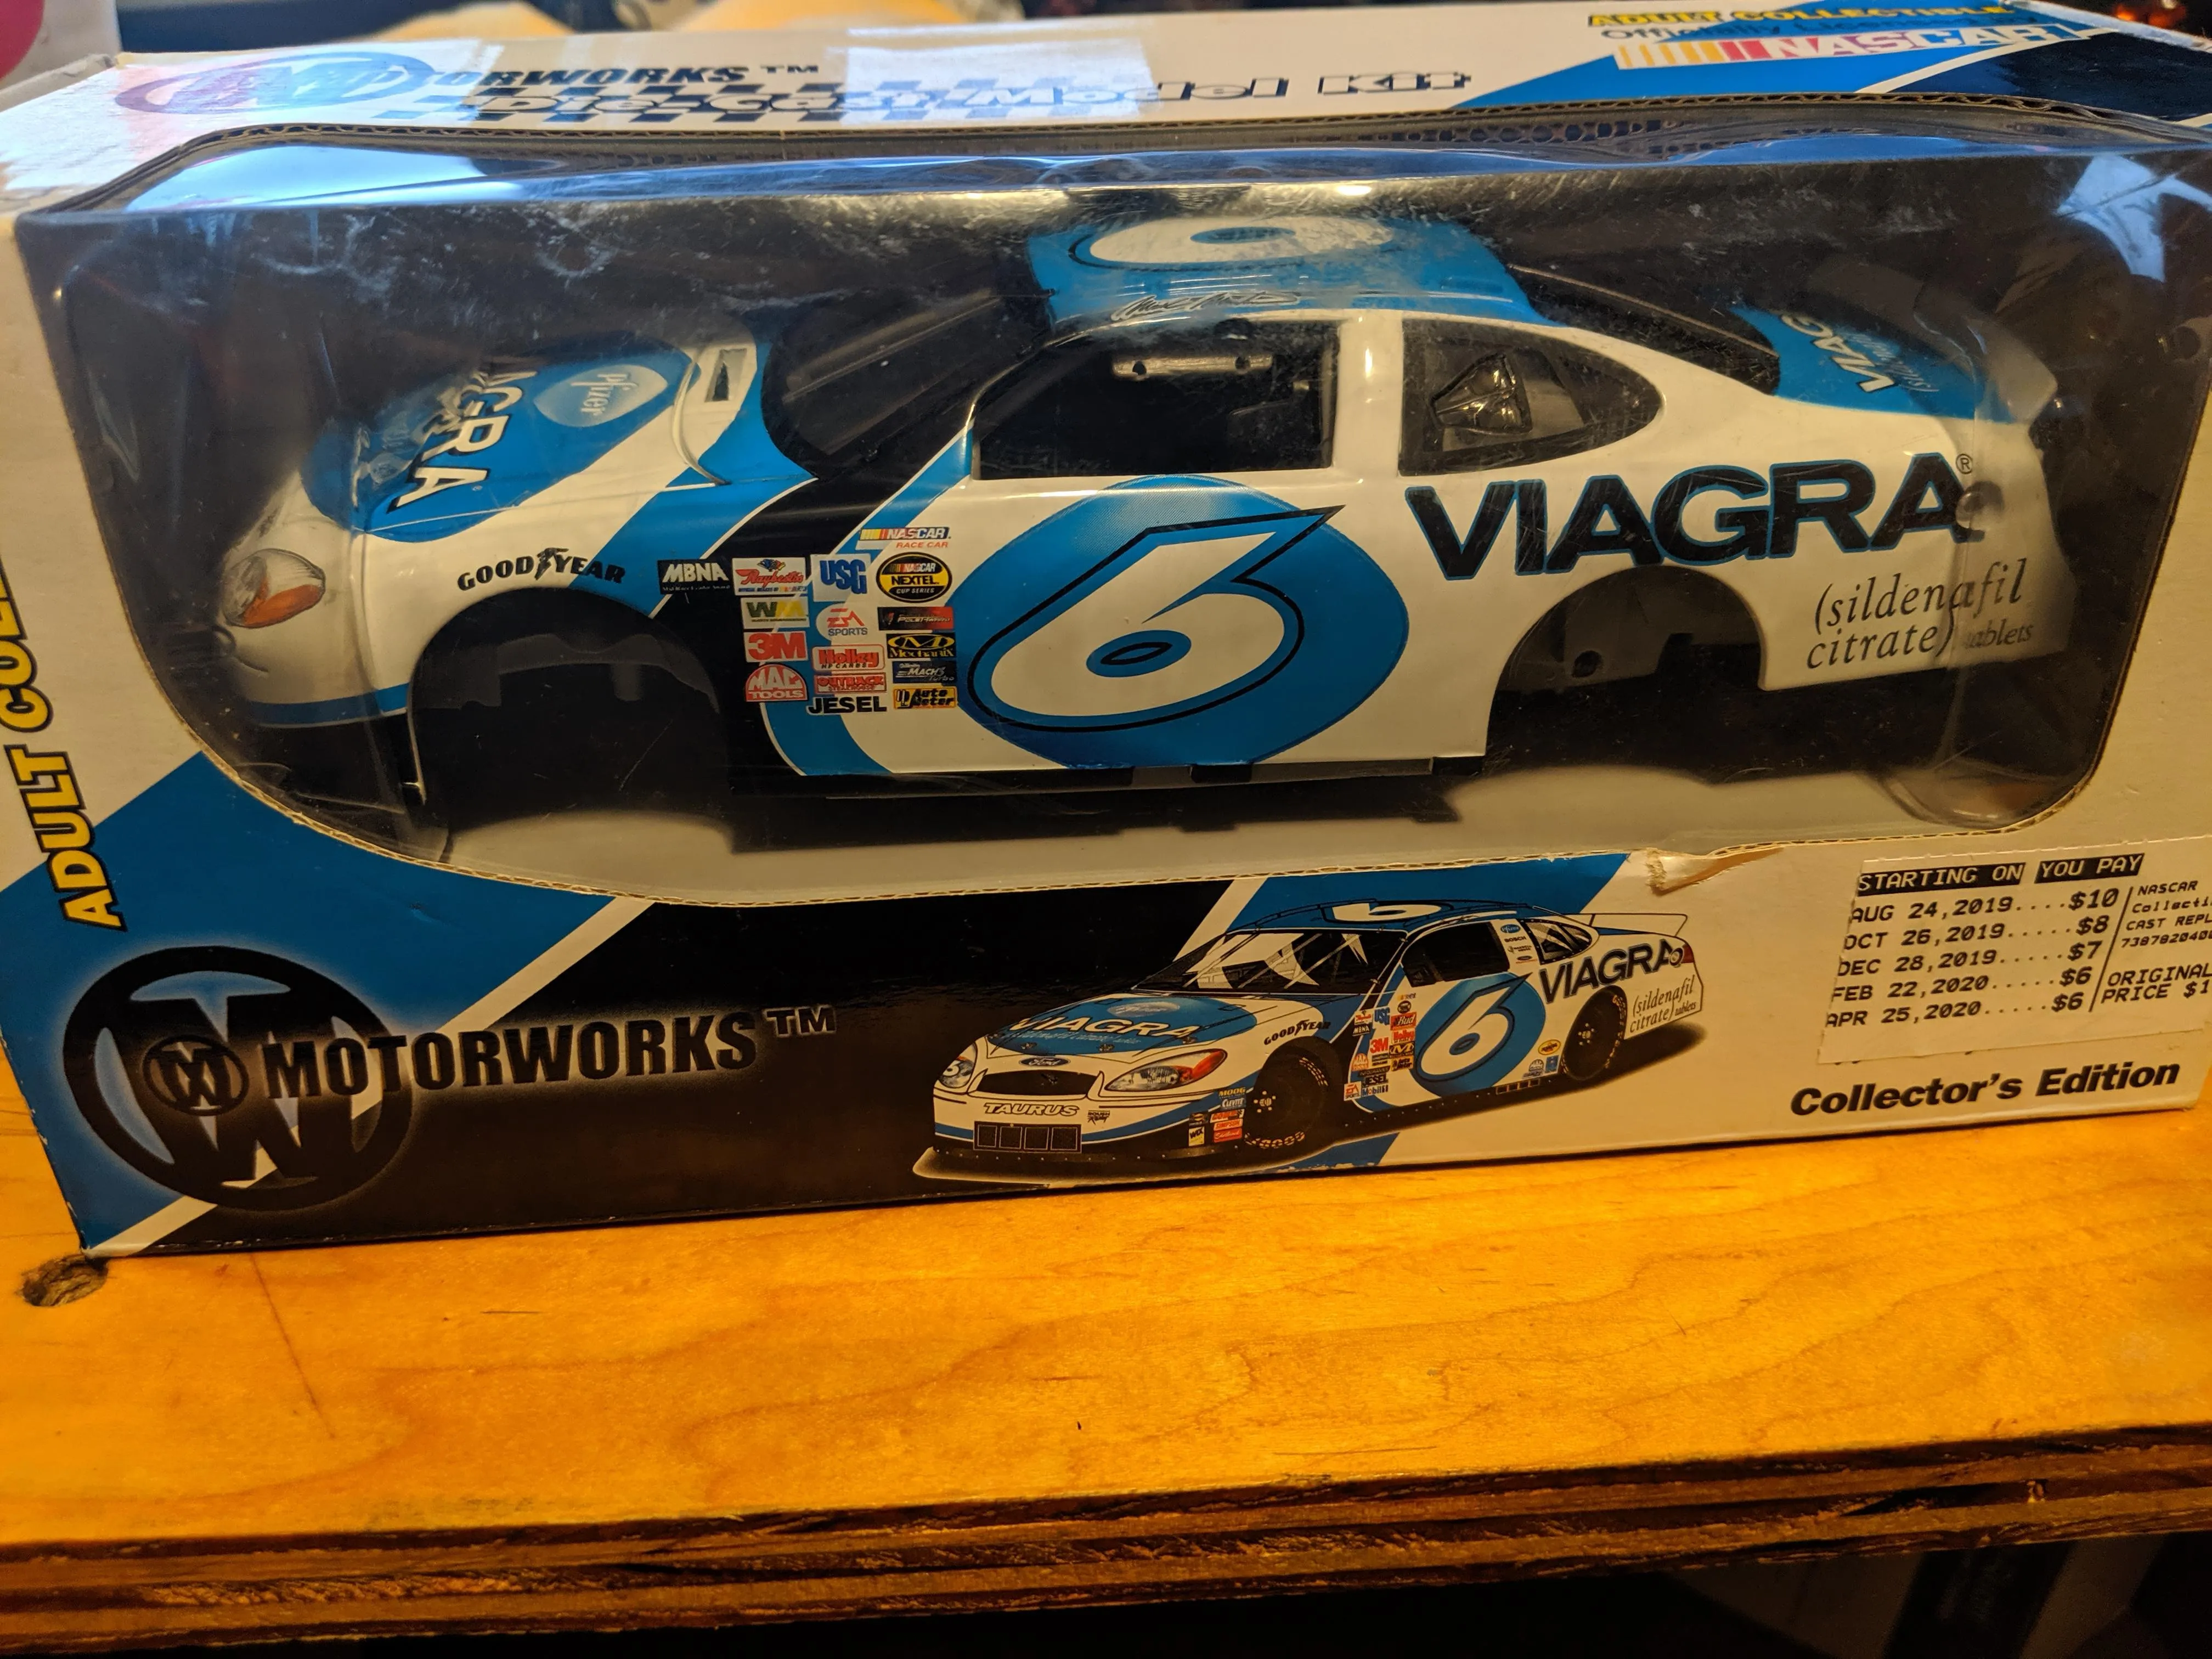
Diecast models are miniature replicas of vehicles, typically made from metal, specifically using a die-casting process. These models are highly sought after by collectors and enthusiasts for their detail, accuracy, and the nostalgia they evoke. From classic cars to modern race cars, and even trucks and construction equipment, the range of subjects is vast. They’re not just toys; they’re miniature works of art. The process of making diecast models involves injecting molten metal into molds, which creates durable and detailed replicas. The level of detail can vary greatly, from simple toy-like models to highly sophisticated replicas with intricate interiors and realistic features. The charm of diecast models lies in their ability to capture the essence of real-world vehicles in a compact form, making them appealing to a wide audience.
Why Make Your Own Diecast
Creating your own diecast models offers a unique blend of creativity and craftsmanship. It allows you to bring your design ideas to life, whether you’re replicating a favorite car, designing a custom vehicle, or simply enjoying a fulfilling hobby. The process provides an opportunity to learn new skills, from design and mold-making to metalworking and finishing techniques. Beyond the satisfaction of creating something tangible, the process can be a relaxing and rewarding pastime. You also have the freedom to customize your models, choosing colors, details, and modifications that reflect your personal style. Building your own diecast model offers a chance to personalize a collection, adding vehicles that may not be commercially available or creating a one-of-a-kind piece. Furthermore, making your own diecast models gives you full control over quality and detail, producing models that meet your exact specifications and represent your passion for the subject.
Materials You’ll Need
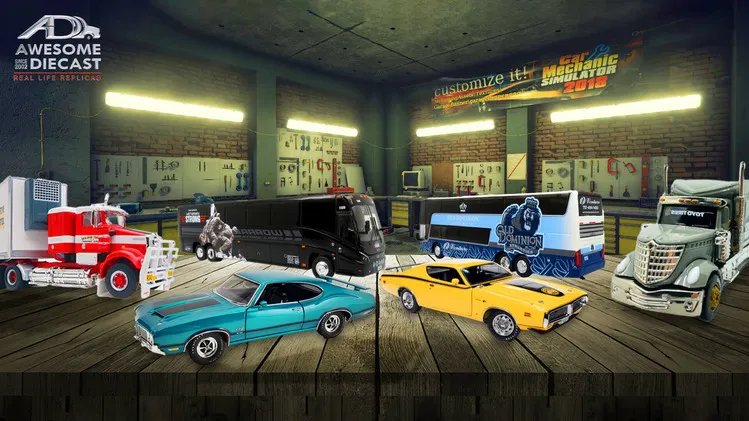
The materials required for making diecast models are specific to the die-casting process, as well as model finishing. The core material is typically a metal alloy, such as zinc, aluminum, or a mix of metals. You’ll need mold-making materials, which can include silicone rubber for creating the molds, and a suitable mold frame to hold the molds during the casting process. For the finishing touches, you’ll need paints, primers, and clear coats designed for metal or plastic. Model paints come in a wide variety of colors and finishes. Additional materials like putty or epoxy can be used to fill imperfections or create specific details. Decals and stickers can be used to add authenticity. Finally, tools for cleaning, prepping, and finishing the models will be essential.
Tools of the Trade
Creating your own diecast models demands a selection of essential tools to ensure precision and quality. You will need tools for design and mold making such as a 3D printer for creating prototypes and molds, or tools for hand-sculpting masters. For the casting itself, a die-casting machine is ideal, although this is a more industrial setup. You can start with hand-pouring techniques, using a crucible and heat source. For the finishing stages, a set of files, sandpaper of varying grits, and polishing compounds are essential. Paintbrushes of different sizes will also be useful. A hobby knife and cutting mat are useful for cutting decals and details. Tweezers are handy for small parts. A workbench with good lighting is vital for a safe and efficient working environment. As your skills develop, you may consider adding tools like an airbrush for painting and a drill press for detail work.
Step-by-Step Diecast Model Creation
Making your own diecast models is a rewarding process that can be broken down into distinct steps, each crucial for achieving the desired results. The process begins with conceptualization and design and concludes with the final touches, ensuring a detailed and professional finish. Each step provides a chance to add detail and refine the model, allowing you to create a true masterpiece. Careful planning and attention to detail will lead to the creation of stunning miniature vehicles that capture the essence of the original designs. Here’s a detailed overview of the main stages.
Designing Your Model
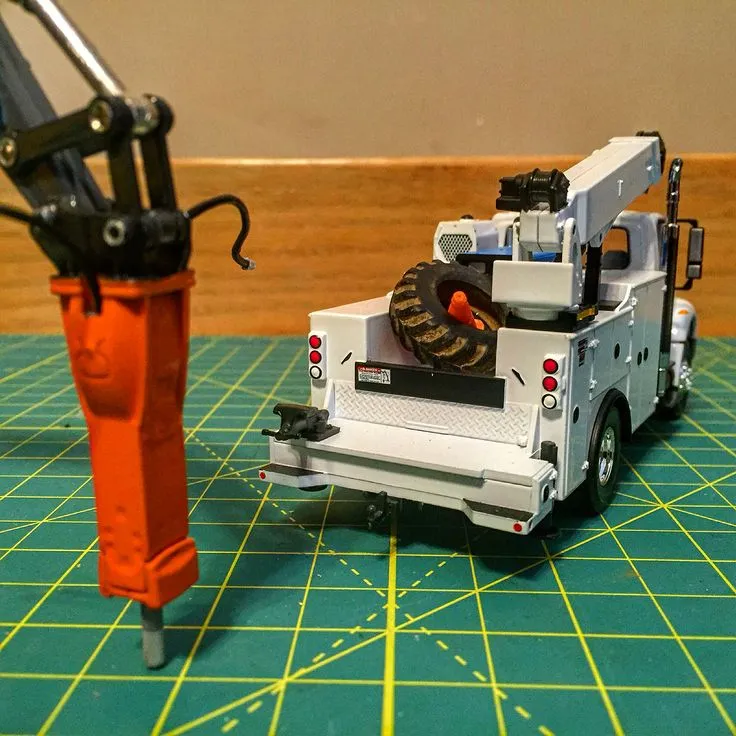
The design phase of a diecast model is the foundation. Begin by deciding on the vehicle you want to create, researching its details, and gathering reference materials such as photos, blueprints, and specifications. You can sketch your design by hand or use computer-aided design (CAD) software to create a 3D model. The CAD model is crucial for generating the molds. The 3D design should include all essential elements of the vehicle, down to small details like door handles, mirrors, and lights. Consider how the model will be assembled and how the parts will fit together. Prepare your design for casting. Make sure you account for the shrinkage of the materials during the cooling process. The more detailed your design, the more realistic your finished model will be. Thorough planning at this stage will significantly impact the quality of the final product.
Casting Your Diecast
Casting is the process where molten metal is poured or injected into a mold to create the body of your diecast model. If using a die-casting machine, the molten metal is injected under high pressure into the mold. For smaller-scale projects, you may use a mold made of silicone rubber, which allows you to pour the molten metal into the mold. Always prioritize safety and wear appropriate protective gear, including safety glasses, gloves, and a heat-resistant apron. After the metal cools and solidifies, carefully open the mold and remove the newly formed cast model. Multiple pieces of the model, such as the body, chassis, and interior, may be cast separately, ready for the next steps. It is important to avoid rapid cooling to prevent cracking or deformation.
Trimming and Finishing
After casting, you’ll need to trim the excess material from the model and prepare the surfaces for painting. This involves removing any flashing, sprues, or other imperfections that occurred during the casting process. Use files, sanding sticks, and a hobby knife to carefully trim away excess material, ensuring that all surfaces are smooth and ready for painting. The sanding process should progress through different grits of sandpaper, starting with coarser grits to remove any major imperfections and finishing with finer grits to achieve a smooth surface. Fill any pinholes or small defects with putty or epoxy, and sand them smooth. The aim is to produce a surface that is free of blemishes and ready to accept paint, ensuring a professional-looking finish. Clean the model thoroughly after trimming and sanding, removing any dust or debris.
Painting Your Diecast Model
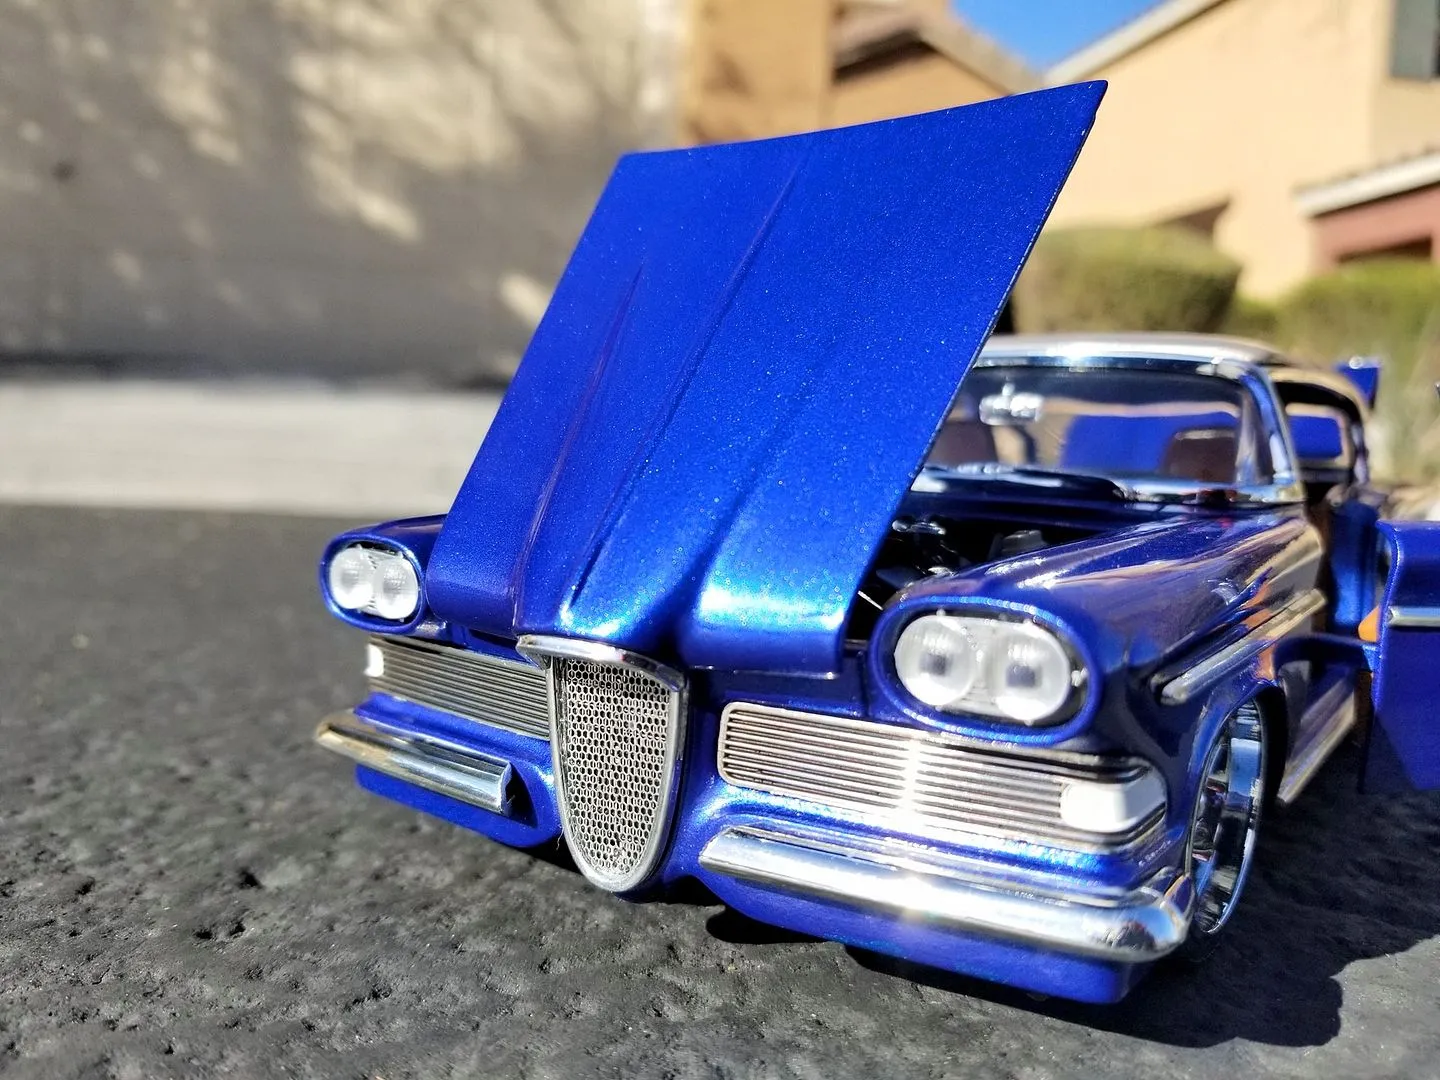
Painting is a crucial step in bringing your diecast model to life. First, apply a primer to the model’s surface to create a suitable base for the paint to adhere to. Priming also helps to reveal any imperfections you may have missed during the trimming process. Then, apply the base coat of paint, typically using an airbrush or spray cans for an even finish. Choose paints that are designed for use on metal or plastic models. Use multiple thin coats to achieve the desired color and coverage, allowing each coat to dry completely before applying the next. Once the base coat is dry, you can add details such as stripes, logos, and other markings. Consider the color palette and finish of the model’s real-life counterpart to maintain authenticity. Apply a clear coat to protect the paint and add a glossy or matte finish, depending on your preference. Ensure all paints and clear coats are compatible with the model’s materials.
Adding Details & Decals
Adding details is where you really get to bring your model to life. Decals can significantly enhance the realism of your model, adding details such as badges, logos, and license plates. Carefully apply the decals to the model’s surface, using decal setting solutions to ensure they adhere properly. Use a hobby knife to trim any excess decal film. For more intricate details, consider using photo-etched parts, which can provide incredibly fine details, such as grilles and window frames. Add small details such as door handles, mirrors, and lights to make the model even more realistic. These details can be made from a variety of materials, including plastic, metal, or even custom-designed 3D-printed parts. This step requires patience and a steady hand. Careful attention to detail can dramatically improve the appearance of your model. Applying a final clear coat after all detailing is complete can help seal in the details and protect them.
Displaying & Preserving Your Diecast Models
Proper display and preservation are essential for showcasing and protecting your newly created diecast models. Consider using display cases or shelves to showcase your creations, protecting them from dust, sunlight, and accidental damage. Store models in a cool, dry place away from direct sunlight. Sunlight can fade the paint and degrade the decals over time. Handle your models with care, and consider using gloves to avoid fingerprints and oils from your hands. Keep models away from extreme temperatures. Clean your models regularly with a soft cloth to remove dust. Consider investing in archival-quality materials, such as acid-free tissue paper or foam inserts, to store your models and prevent them from getting scratched. Regular maintenance and proper storage will ensure your models will be enjoyed for years to come.
Common Mistakes & How to Avoid Them
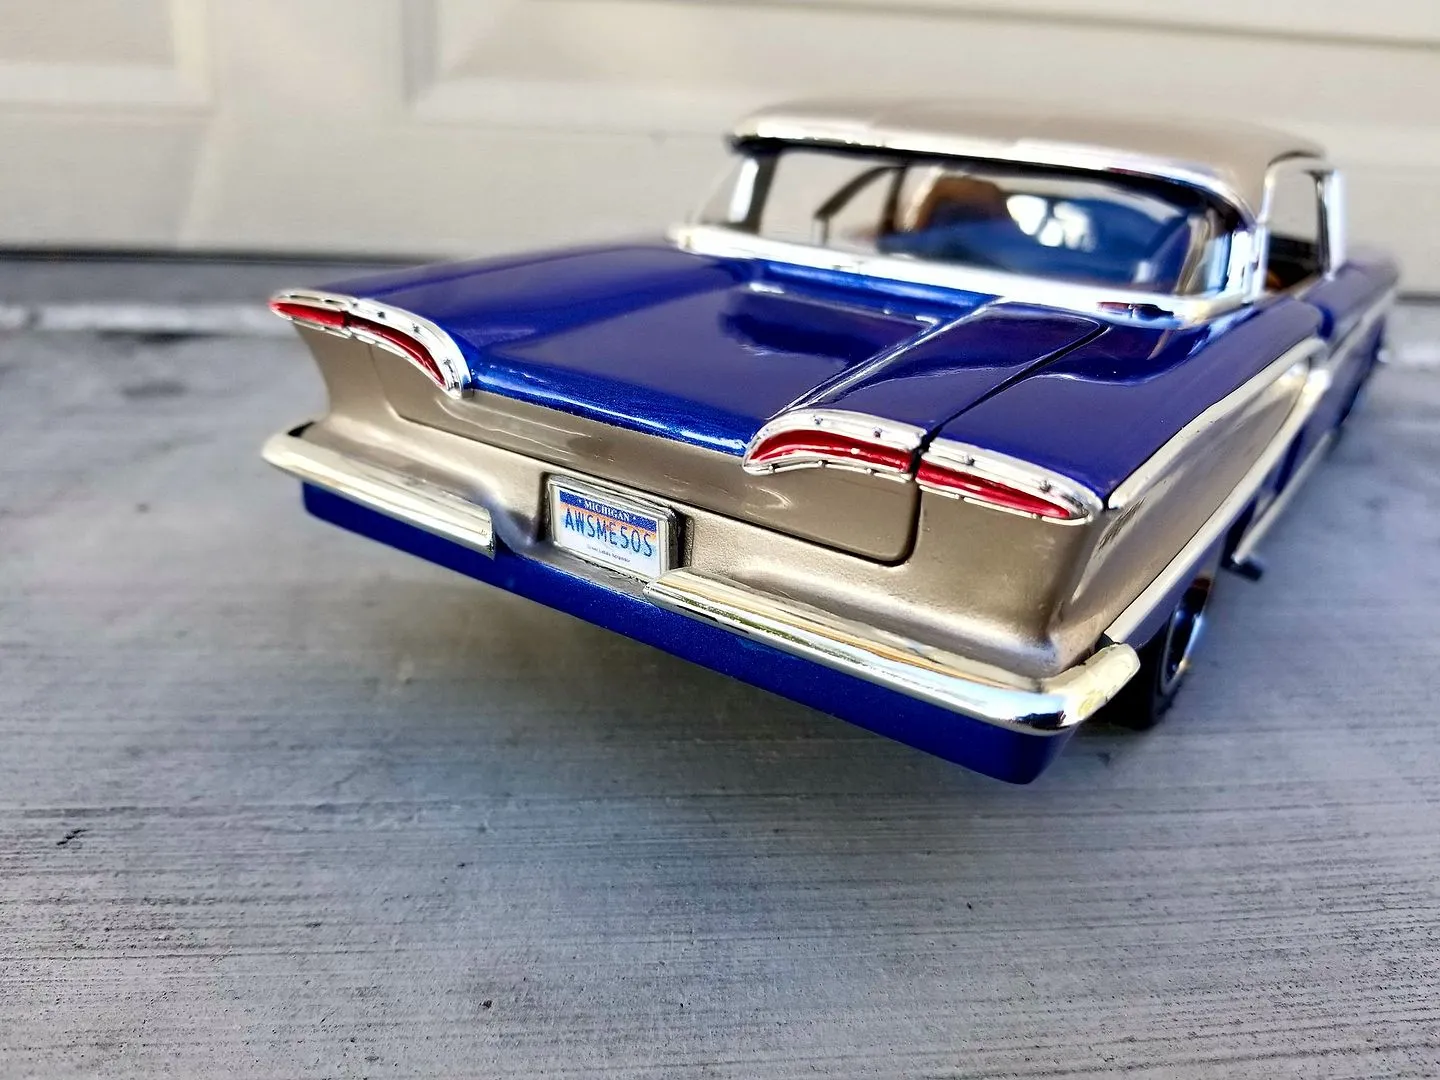
Making your own diecast models can be challenging. Some common mistakes include poor mold design leading to casting issues, such as air bubbles and incomplete fills. To avoid this, carefully design your mold. Inadequate surface preparation, like not sanding the model thoroughly, will lead to paint not adhering properly. Another common mistake is using the wrong type of paint or applying it incorrectly, which can result in an uneven finish. To avoid this, research the correct paints and methods. Rushing the process is another pitfall, leading to lower-quality outcomes. It is best to take your time and allow each step to be completed before moving to the next. Overlooking safety precautions can lead to injuries; always use protective gear when casting and painting.
Where to Find More Inspiration
There’s a wide variety of resources to help fuel your passion for making diecast models. Online forums, model-making communities, and social media groups are invaluable sources of inspiration and support. Watch videos to learn techniques and gain inspiration from the works of other enthusiasts. Attend model shows and exhibitions. These events provide an opportunity to see examples, meet experienced modelers, and discover new ideas. Explore books and magazines related to model making, design, and automotive history. Consider attending workshops and courses taught by experts. These offer valuable insights into advanced techniques and processes. By actively engaging with these resources, you can expand your knowledge, improve your skills, and continually fuel your creativity.
