What is a Mercedes Gullwing Diecast Kit
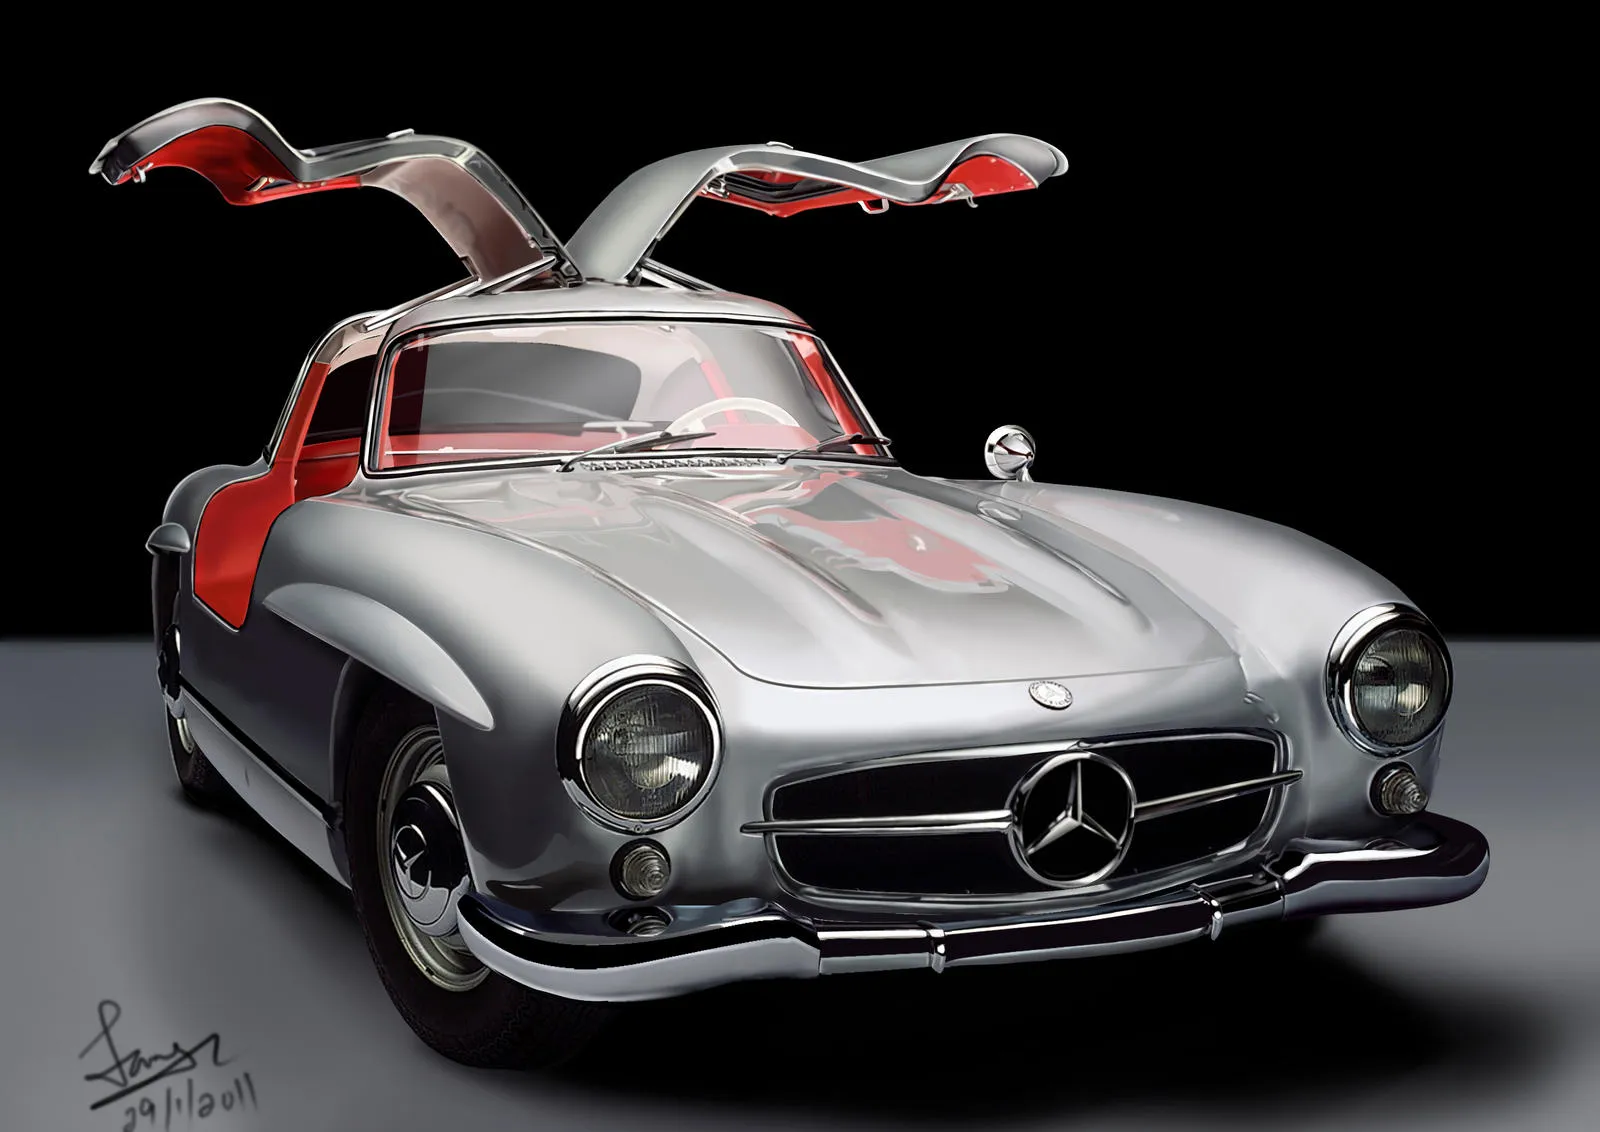
A Mercedes Gullwing diecast kit is a scaled-down replica of the iconic Mercedes-Benz 300SL Gullwing, a car renowned for its distinctive gullwing doors and legendary status. These kits allow enthusiasts and hobbyists to build their own detailed model of this classic car. They typically consist of pre-painted or unpainted diecast metal and plastic parts, along with detailed instructions and often include decals to recreate the car’s original markings. Building these kits offers a hands-on experience, blending the enjoyment of model-making with the appreciation of automotive history. The level of detail varies depending on the kit, ranging from simpler models to highly complex ones with hundreds of parts, allowing builders to choose a kit that matches their skill level and desired level of detail.
Why Choose a Mercedes Gullwing Diecast Kit
Choosing a Mercedes Gullwing diecast kit offers numerous benefits that extend beyond simply owning a model car. Building these kits provides an engaging and rewarding hobby for people of all ages. This activity can be a great way to relax and de-stress. Also, these models are great for building up your focus and concentration. Furthermore, these kits are an investment in a unique collectible item, offering a tangible link to automotive history and a source of personal pride upon completion. Below are some of the best benefits of building a Mercedes Gullwing diecast kit, which makes it a great choice.
Enhance Fine Motor Skills

Building a Mercedes Gullwing diecast kit requires precise movements and careful handling of small parts. This activity actively enhances fine motor skills, improving hand-eye coordination and dexterity. The process of assembling the intricate components, from the engine and chassis to the interior details and doors, requires careful manipulation of tools like tweezers, small screwdrivers, and glue applicators. Assembling the small parts of the kit also helps in enhancing hand strength. This focus on fine motor control is beneficial for builders of all ages, helping to maintain or improve these essential skills. Assembling the kit regularly can improve hand strength and can be a therapeutic activity for those with mild motor skill impairments.
Boost Concentration and Focus
Model building demands a high level of concentration and focus. Each step of assembling a Mercedes Gullwing diecast kit necessitates close attention to detail and adherence to instructions. The need to carefully align parts, avoid mistakes, and manage the small pieces provides a mental workout that improves concentration skills. Builders must stay focused for extended periods to complete each stage of the construction process. This focused engagement helps to train the mind, enhancing the ability to concentrate on tasks, and reducing distractions, which can be beneficial in various aspects of life, from academic pursuits to professional endeavors. It is a great way to train your concentration levels.
Relieve Stress and Anxiety
The repetitive and detailed nature of building a Mercedes Gullwing diecast kit offers a therapeutic outlet that can help reduce stress and anxiety. Focusing on a specific task, such as assembling the engine or meticulously applying decals, allows the mind to escape from daily worries. The process provides a sense of calm and allows the builder to be fully present in the moment. This immersive activity can act as a form of meditation, promoting relaxation and mental well-being. The satisfaction of completing a step or the entire model provides a sense of accomplishment, which further contributes to stress relief. Building a model kit is a great hobby that can help you unwind.
Create a Sense of Accomplishment

Successfully completing a Mercedes Gullwing diecast kit brings a significant sense of accomplishment. The process of building the model from individual parts to a finished replica is a tangible achievement that fosters pride and satisfaction. Each completed step, from assembling the chassis to attaching the iconic gullwing doors, represents progress and effort. The final product stands as a testament to the builder’s patience, skill, and dedication. This feeling of accomplishment boosts self-esteem and provides a positive reinforcement loop, motivating the builder to pursue other projects and challenges. The ability to display the finished model and share it with others further enhances this sense of pride and accomplishment.
A Unique Collector’s Item
A completed Mercedes Gullwing diecast kit is a unique collector’s item, adding value to any collection. The iconic design of the 300SL Gullwing, combined with the effort put into building the model, makes it a valuable and sought-after piece. Unlike mass-produced toys, each model kit is a result of personal effort, making it unique. Assembling and preserving a model of this classic car connects the builder to automotive history and craftsmanship. The value of these kits can increase over time, especially for rare or limited-edition models. This can be a great investment. Displaying the completed model showcases a passion for the car and the hobby, attracting admiration from fellow enthusiasts and collectors.
Materials and Tools Needed
To successfully build a Mercedes Gullwing diecast kit, you’ll need a few essential tools and materials. These items will help you assemble the model efficiently and achieve the best possible results. Also, make sure you have enough space to work and proper lighting conditions. The following are the most important tools and materials you will need to build your model. Preparing the materials and tools helps ensure a smooth and enjoyable building experience, allowing you to focus on the details and the pleasure of bringing this iconic car to life.
Essential Tools

- Hobby Knife This is used for removing parts from sprues and trimming excess plastic.
- Tweezers Essential for handling small parts and applying decals accurately.
- Small Screwdrivers A set of various sizes is necessary for assembling screws.
- Glue (Plastic Cement and Super Glue) Plastic cement is for plastic parts, and super glue is for metal or other materials.
- Paint Brushes A variety of sizes for painting details.
- Scissors For cutting decals and other materials.
- Sandpaper or File For smoothing rough edges and preparing surfaces.
Recommended Materials
- Model Paint (Acrylic or Enamel) in appropriate colors for the Mercedes Gullwing.
- Paint Thinner Or a cleaner suitable for your paint type.
- Primer Used to prepare surfaces for painting and ensure better paint adhesion.
- Decal Setting Solution Helps decals conform to the model’s surface.
- Masking Tape For protecting areas you don’t want to paint.
- Detailing Tools Such as pin vices, wire cutters, and rivet tools for added realism.
- A Cutting Mat To protect your work surface from scratches.
Step-by-Step Building Guide
Building a Mercedes Gullwing diecast kit is a rewarding experience that involves a series of steps. Following these steps carefully will help you build a detailed and accurate model of this iconic car. Each step plays a critical role in the final outcome, so taking your time and paying attention to detail is essential. Here is a detailed step-by-step guide for building your Mercedes Gullwing diecast kit.
Preparing the Parts

Start by carefully removing the parts from the sprues, using a hobby knife or sprue cutters. Trim away any excess plastic from the parts, using sandpaper or a file to smooth any rough edges. Wash the parts in warm, soapy water to remove any mold release agents. This will help the paint to adhere better. Separate the parts into categories, such as chassis, engine, interior, and body, to make the assembly process easier and avoid confusion. Review the instruction manual to identify the parts and understand the build order. This preparation phase sets the foundation for a successful build, ensuring the parts are ready for assembly and paint.
Assembly of the Chassis
Assemble the chassis components according to the instructions. This often involves attaching the suspension parts, axles, and other undercarriage details. Ensure that all parts fit together correctly and securely. Use plastic cement to bond the plastic parts and super glue where necessary. Take your time to ensure everything is aligned correctly. Once the chassis is assembled, you may choose to prime and paint it before moving on to the next steps. This will give you a cleaner finish. The chassis is the backbone of the model, and ensuring that it is assembled correctly is critical for the overall stability and appearance of the Gullwing.
Building the Engine and Drivetrain
Assemble the engine and drivetrain components, including the engine block, transmission, and other engine accessories. This may involve gluing together multiple parts and attaching smaller details. Refer to the instruction manual for guidance. Pay close attention to the alignment of the engine components. Often, these models are designed to be highly detailed, so taking your time during assembly is key. After the engine is assembled, you can choose to paint the engine parts to add realism. Once the engine is complete, carefully attach it to the chassis, ensuring a secure fit. The engine is one of the most detailed components in the model, and building it properly is essential for an impressive final result.
Constructing the Interior

Assemble the interior components, including the dashboard, seats, steering wheel, and door panels. Paint or detail the interior parts. This is your chance to add color and realism to the model. Attach the interior parts to the chassis, ensuring a snug fit. Decals may be added to the dashboard and other interior details at this stage. Pay attention to details. Taking the time to make these pieces perfect will make the model look great. The interior is a visible and important part of the model, so accuracy and attention to detail are key to replicating the Gullwing’s luxurious interior.
Attaching the Body and Gullwing Doors
Carefully attach the body panels to the chassis, ensuring proper alignment. Attach the doors, paying close attention to the hinge mechanisms. The hallmark of the Mercedes Gullwing is its distinctive doors. Before attaching the doors, ensure the hinges are aligned correctly. Once the doors are attached, test their movement to ensure they open and close smoothly. This step requires precision. This is the final step, so make sure you take your time and make everything perfect. Check the instructions for any additional body details, such as the bumpers and lights. These steps bring the model closer to completion and allow you to see the iconic shape of the Mercedes Gullwing come to life.
Tips for a Perfect Build
Achieving a perfect build requires patience, attention to detail, and these helpful tips. Always read the instructions carefully. Don’t rush through the build. Take your time and enjoy the process. Dry-fit all parts before gluing them. This will ensure that everything fits correctly and that you won’t need to make any adjustments. Use the right tools. Using the right tools will make your job easier. Paint in thin coats. It’s better to apply multiple thin coats than one thick coat. This will prevent runs and drips. Apply decals carefully. Use decal setting solution. Be patient and take your time. Most importantly, have fun. Enjoy the process and don’t get discouraged if you make mistakes. Learn from your mistakes and use them as opportunities to improve. Remember to relax and enjoy the process. Building model kits should be a fun and rewarding experience.
Painting and Detailing Your Model

Painting and detailing are the key to bringing your Mercedes Gullwing diecast kit to life. Start by priming the model to provide a smooth surface for the paint to adhere to. Choose the correct paint colors, using the kit instructions or reference photos to guide you. Apply thin, even coats of paint, allowing each coat to dry before applying the next one. After the paint has dried, apply decals and use decal setting solution to ensure they conform to the model’s surface. Add details, such as chrome trim, lights, and other accessories, to enhance the realism. Use fine brushes to add detail, such as pin striping. Painting and detailing is where you can showcase your skills and personalize your model. The care and attention you invest in these steps will be evident in the final result.
Displaying and Preserving Your Mercedes Gullwing
Once your Mercedes Gullwing diecast kit is complete, displaying and preserving it is important to protect it from damage and showcase your work. Display the model in a dust-free environment. Consider using a display case or a glass shelf to protect it. Avoid direct sunlight, as it can fade the paint. Clean the model gently with a soft cloth to remove dust and fingerprints. Handle the model with care, as it is a delicate piece. Consider using protective sprays to safeguard the paint. With proper care, your Mercedes Gullwing diecast kit will continue to look its best for years to come. This will preserve your hard work and allow you to enjoy your model for years to come. If you are careful with the model, the model can last for a very long time.