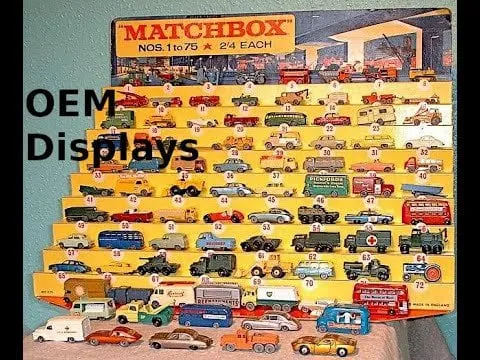
Choosing the Right Equipment for Diecast Car Photography
Photographing diecast model cars can be a rewarding hobby, allowing you to capture the beauty and intricate details of these miniature vehicles. To get started, you’ll need the right equipment, which doesn’t necessarily mean breaking the bank. The essentials include a good camera, suitable lenses, and proper lighting. Investing in quality equipment will significantly impact the final results, making your photographs look professional and appealing. Consider this a long term investment, and focus on buying equipment that provides flexibility and options for various types of shots. The correct setup is the foundation for stunning diecast car photos. Don’t be afraid to start with what you have, and upgrade as your skills and passion grow.
Camera Selection for Diecast Models
The heart of your photography setup is the camera. While a smartphone can work for basic shots, a dedicated camera offers far more control and flexibility. A DSLR or mirrorless camera is highly recommended. These cameras offer interchangeable lenses and manual controls, allowing you to adjust settings like aperture, shutter speed, and ISO to achieve the desired look. Consider cameras with high megapixel counts, as this provides ample detail for close-up shots. Look for models with good low-light performance, this is because you may need to shoot indoors. If your budget is tight, look for used models; this can be a good way to obtain the functionality you need without spending a fortune. Understanding your camera’s capabilities is essential. This is why choosing the right one is paramount for your diecast photography journey.
Lens Choices and Their Impact
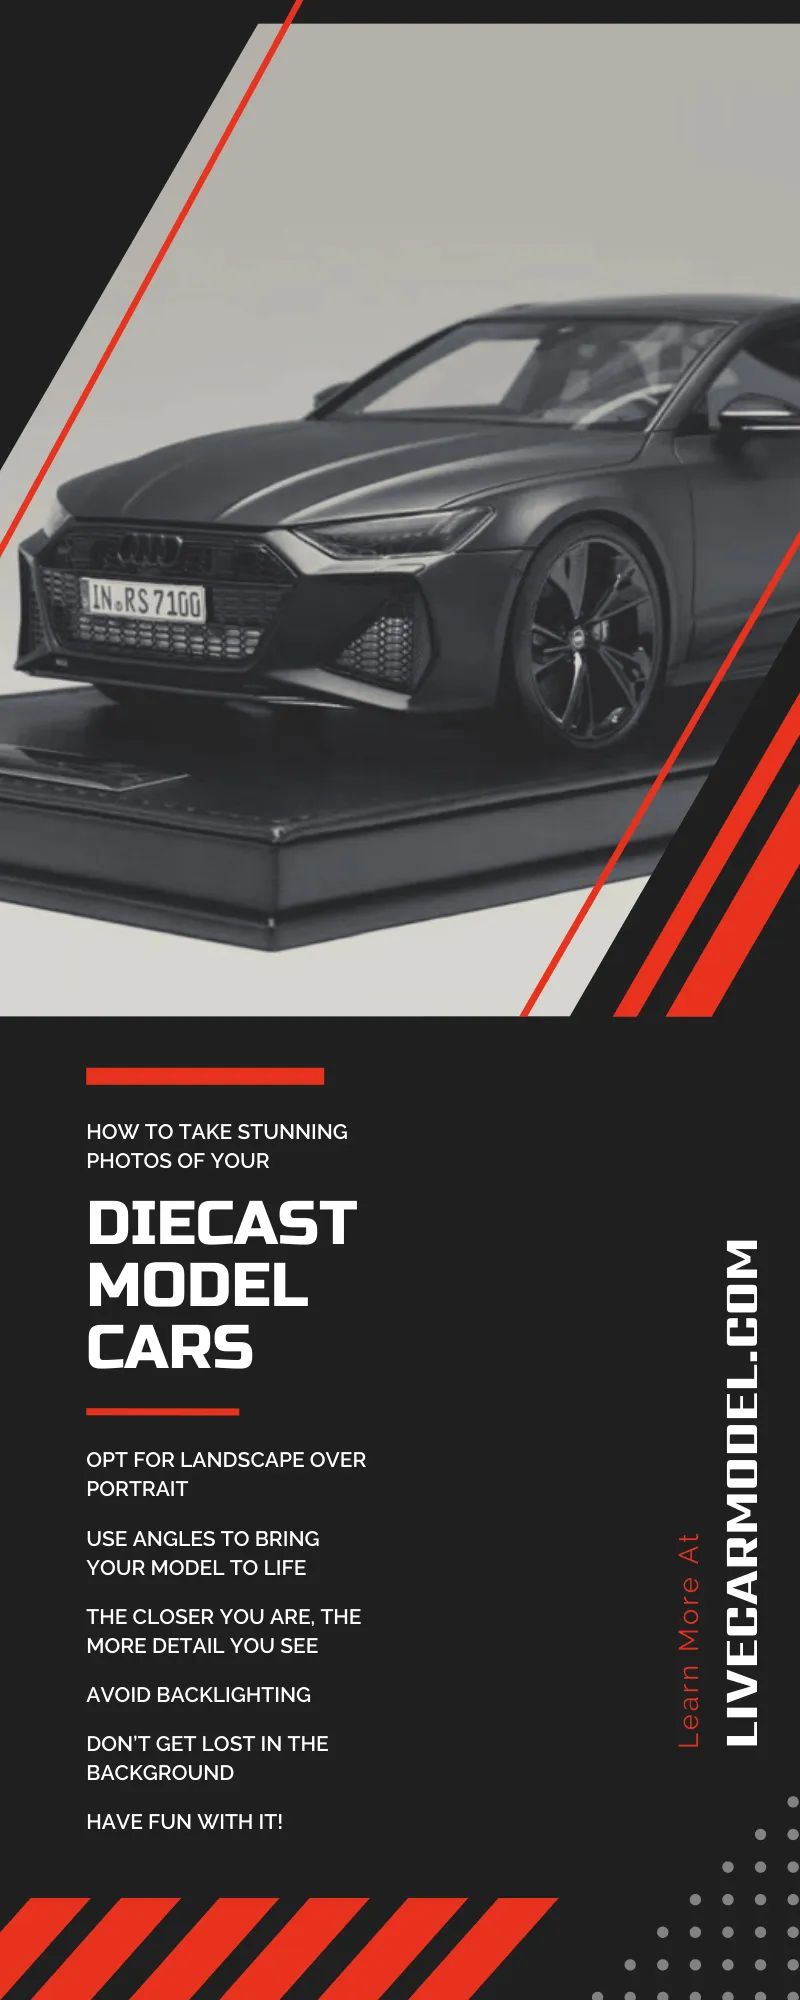
Lenses play a crucial role in diecast car photography, influencing the perspective, depth of field, and overall look of your photos. A macro lens is ideal for capturing the fine details of diecast models. It allows you to focus closely and reveal the intricate craftsmanship of the vehicles. A macro lens lets you zoom in close, so you can capture the small details that make these cars special. A prime lens, like a 50mm or 35mm, is also a versatile option, providing good image quality and a shallow depth of field, which can blur the background and make your subject stand out. Zoom lenses can also be useful, offering flexibility in framing your shots. Experiment with different focal lengths to find what works best for your style and the type of shots you want to achieve. Don’t underestimate the power of a good lens to transform the look of your photographs.
Lighting Techniques for Diecast Car Photography
Lighting is arguably the most critical element in diecast car photography. Proper lighting enhances the details, adds depth, and creates visual interest. Natural light is excellent, especially on overcast days when the light is diffused. However, you’ll often need to work indoors, so artificial lighting becomes necessary. Consider using softboxes or umbrellas to diffuse the light and create soft shadows. This prevents harsh glares and highlights the details of the model car. Multiple light sources can also be used to create depth and dimension. Avoid pointing the light directly at the car; instead, bounce the light off reflectors or walls to create a more flattering effect. Experiment with different light setups to find what works best for your style and the specific model you are photographing. Mastering lighting techniques is essential for taking your diecast car photography to the next level.
Understanding Light Sources and Placement
Understanding light sources and how to position them is key. The most common light sources for diecast photography include studio lights, speed lights, and even desk lamps. When positioning your lights, consider the angle, intensity, and direction. Side lighting can highlight the car’s contours and create shadows, adding dimension. Front lighting can illuminate the car evenly, while backlighting can create a dramatic effect. Experiment with different angles to find what best showcases your subject. Be mindful of reflections and glare. They can distract from the car and ruin a photo. To manage reflections, use diffusers, reflectors, and adjust the angle of your lights. Understanding the nature of light and how it interacts with your subject is the foundation of good photography.
Diffusers and Reflectors: Essential Tools
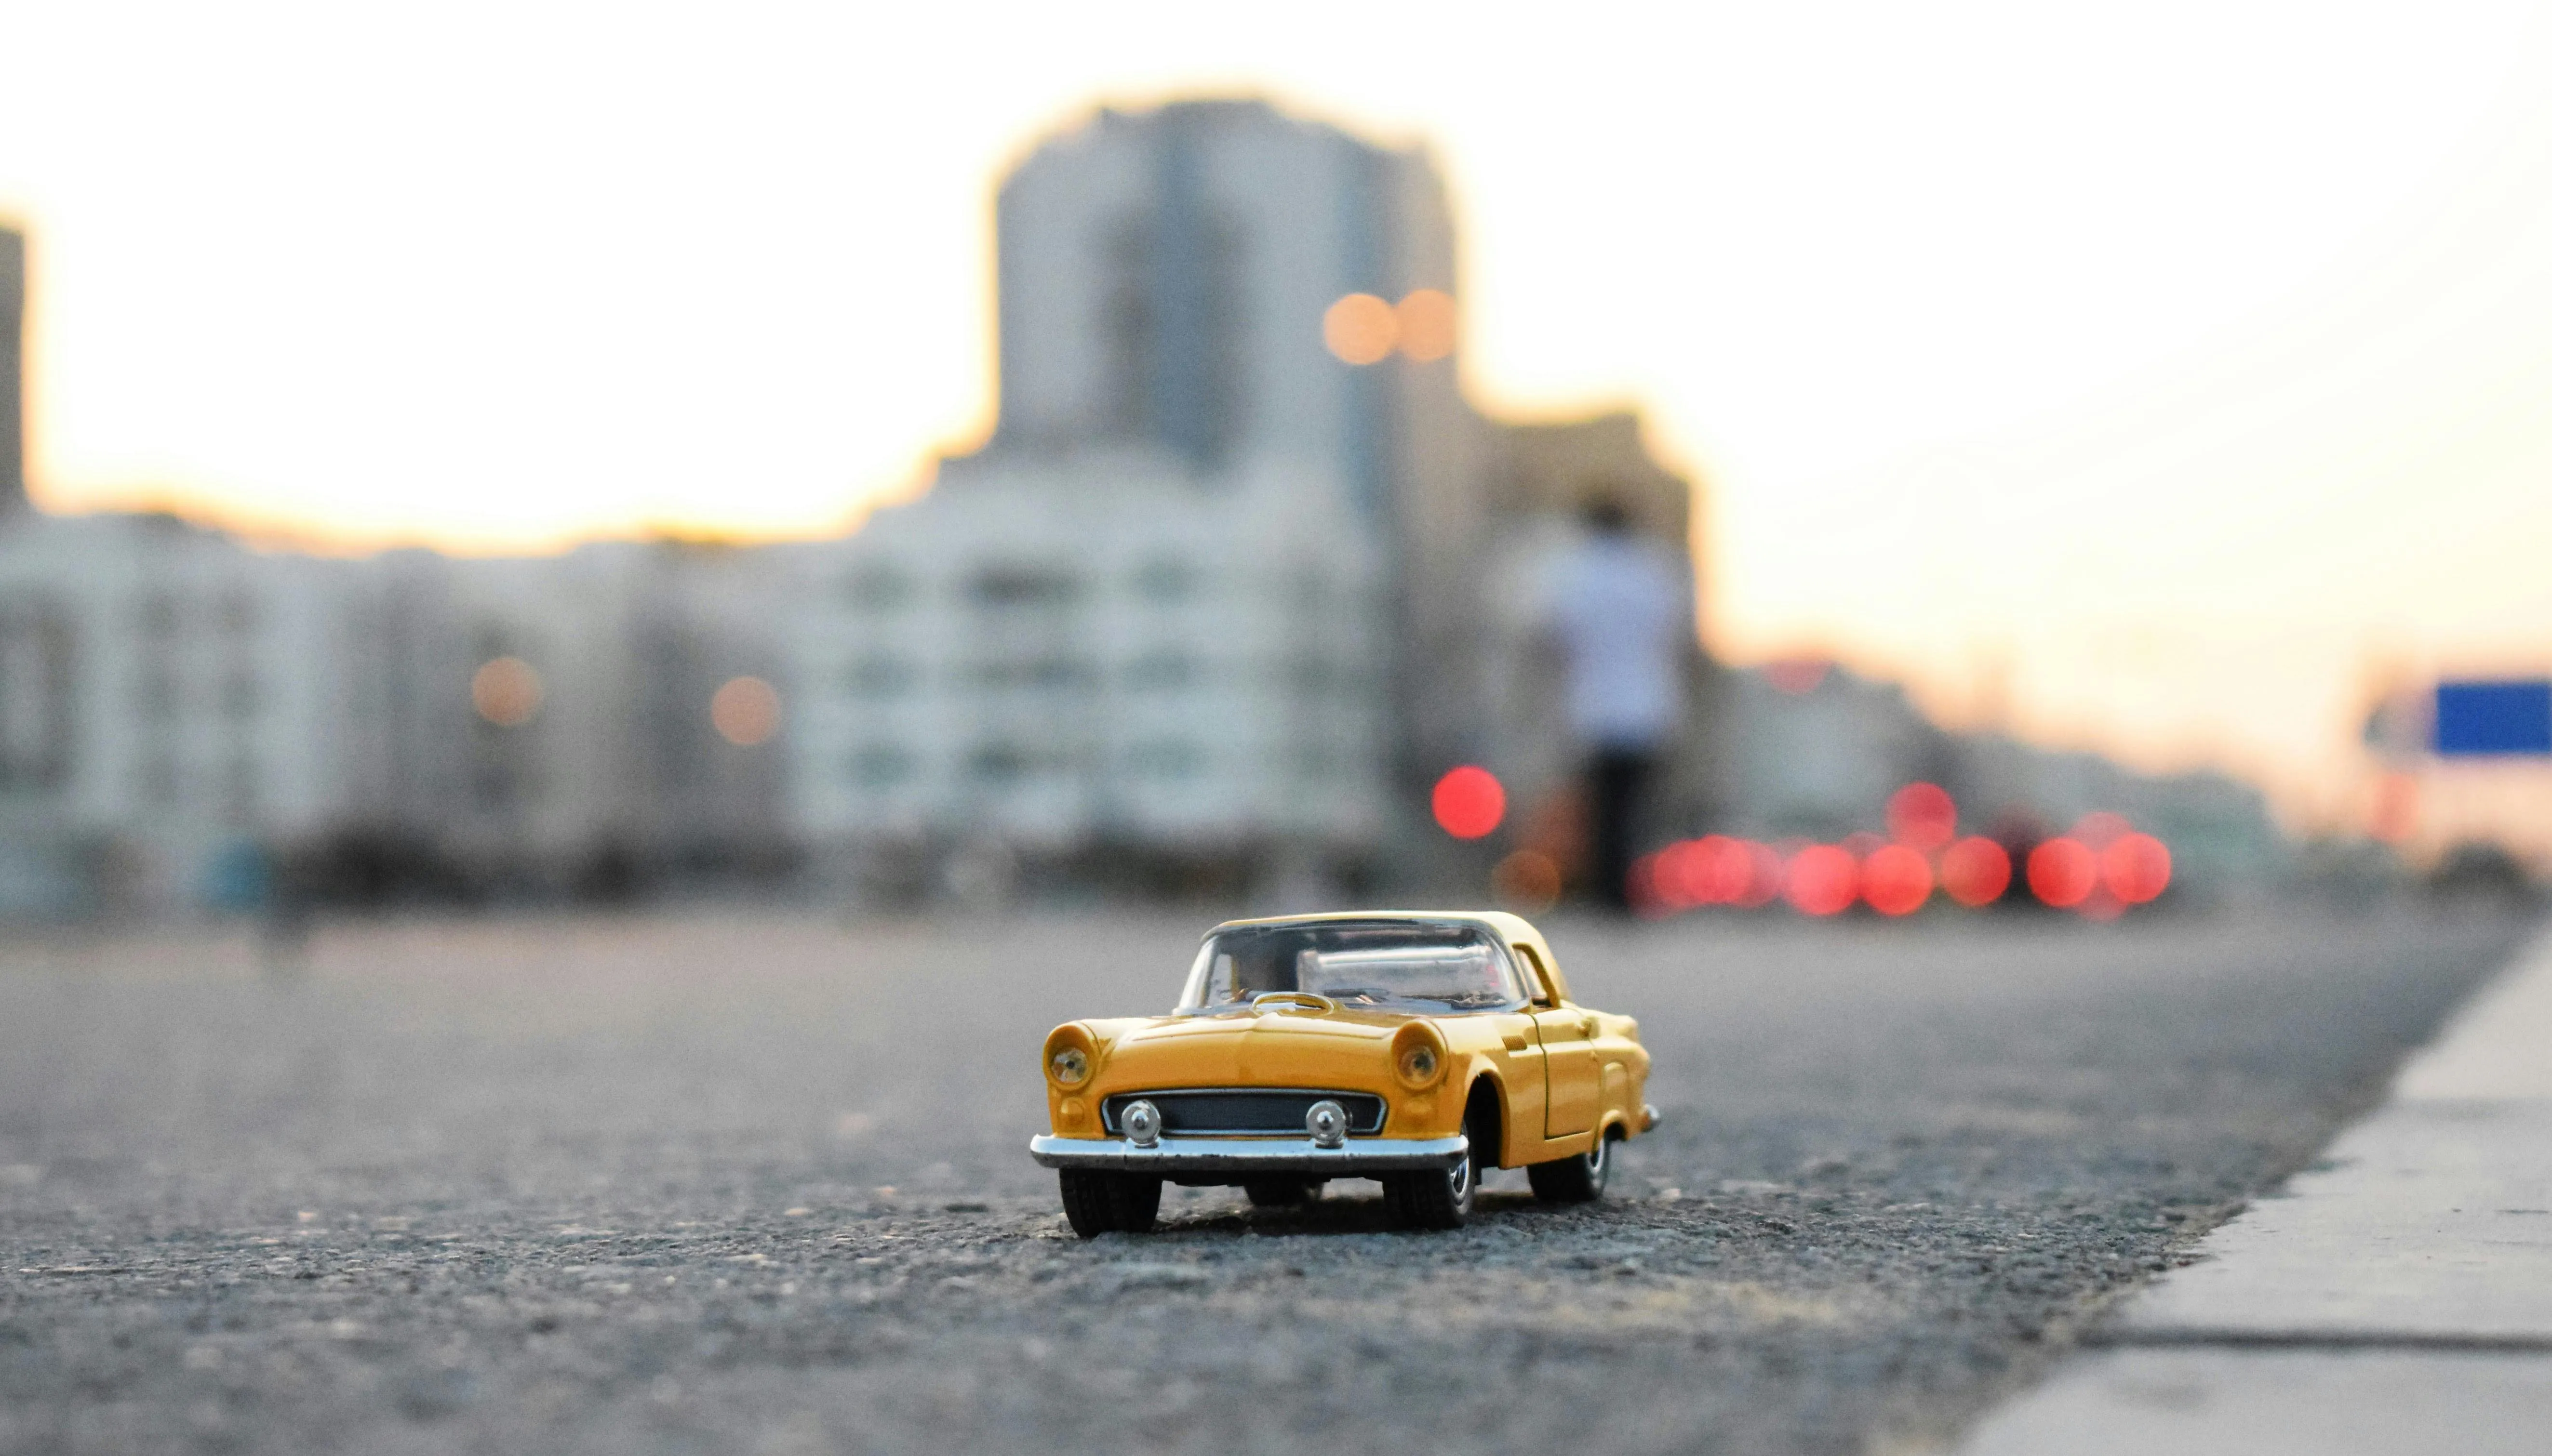
Diffusers and reflectors are indispensable tools for controlling light. Diffusers soften harsh light, reducing shadows and creating a more flattering look. They can be as simple as a sheet of tracing paper or a dedicated softbox. Reflectors bounce light back onto the subject, filling in shadows and adding highlights. Reflectors come in various colors; white reflectors provide neutral fill light, while silver reflectors add more brightness. Gold reflectors can add a warmer tone. Using diffusers and reflectors helps you to control the light, so you can create the mood and look you want. By utilizing these tools, you’ll be able to control the way light interacts with your model car. This is a great skill to have as it will help you create the best shots.
Mastering Composition and Angles
Composition is about arranging the elements within your frame to create a visually appealing and engaging image. Consider the rule of thirds, which suggests placing key elements along the lines or at the intersections of a grid that divides the frame into nine equal parts. This can create a more balanced and dynamic composition. Pay attention to leading lines, which guide the viewer’s eye through the photo. Use the lines of the car, the background, or props to direct attention to the main subject. Think about the angles. Low-angle shots can make the car look powerful, while eye-level shots create a more realistic perspective. Experiment with different angles to find what works best for the specific model car and the story you want to tell.
Experimenting with Different Perspectives
Don’t be afraid to experiment with different perspectives. Try shooting from a low angle to make the car seem larger and more imposing, or from a high angle to capture a wider view of the scene. Get down on the ground, or use a tripod to get the camera at the perfect height. Explore creative angles, such as shooting from inside the car or through a window. Play around with the foreground and background. A shallow depth of field can blur the background, drawing attention to the car. A deep depth of field keeps everything in focus, which is great for showcasing the car’s details and the environment. Varying your perspectives adds visual interest and helps you tell a more compelling story. Be sure to capture the car in its best light!
Creating Realistic Scenes and Backgrounds
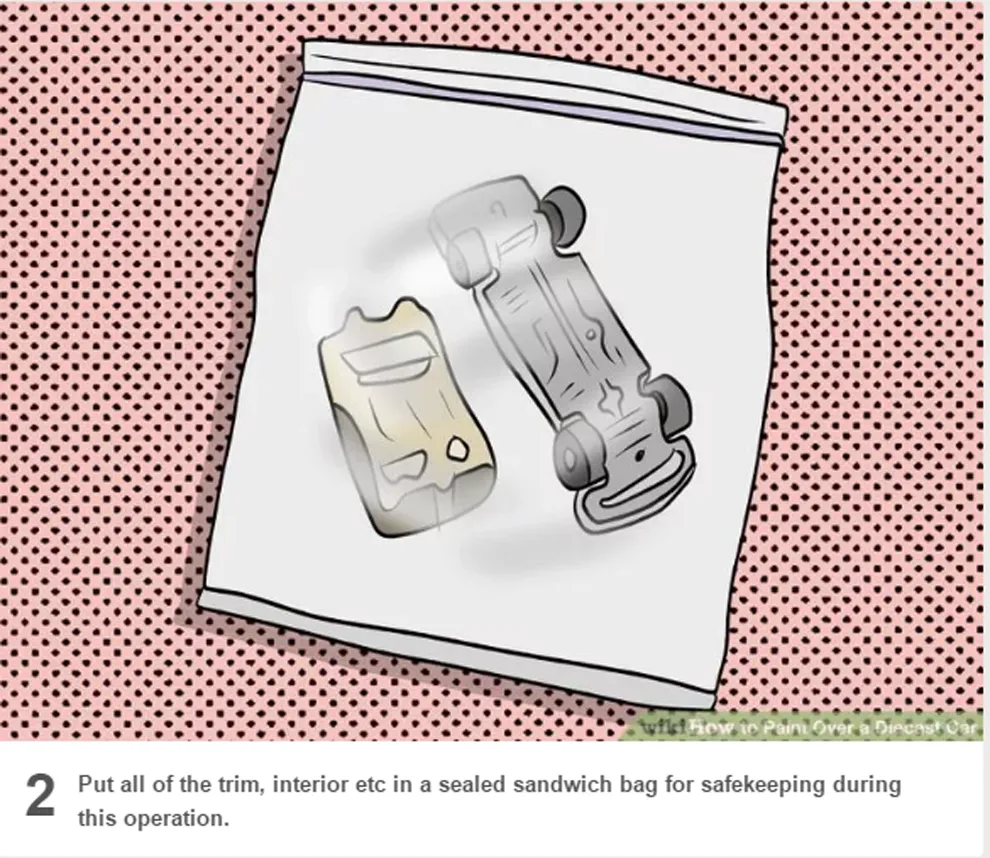
Creating realistic scenes and backgrounds is crucial for adding context and visual appeal to your diecast car photos. Consider the environment the car would be in. Is it a city street, a desert road, or a garage? Use props to create a scene that supports the car. For example, you could use miniature trees, buildings, or road signs. The background is also important. A plain backdrop can be effective, but using a background that complements the car can add a lot of interest. Consider using printed backgrounds, photographs, or even real-life locations. Make sure the background doesn’t distract from the main subject. A well-chosen background can transform a simple photo into a captivating scene. A well-crafted scene can transport the viewer to a different place and time.
Using Dioramas and Props
Dioramas and props are excellent tools for creating realistic scenes. Dioramas are miniature sets that represent a specific environment, such as a garage, a racetrack, or a street scene. Props, such as miniature figures, tools, or other objects, can add detail and tell a story. When using dioramas and props, pay attention to scale and realism. Make sure everything looks proportionate to the model car. Detail is key; ensure all props and scenery match the look of the vehicle. Consider the lighting, too. The lighting should match the scene you are trying to create. Proper use of dioramas and props can elevate your photos and bring your diecast models to life. Take your time to arrange the scene, and think about how the props and the car interact.
Post-Processing and Editing Your Photos
Post-processing is essential for enhancing your photos. It allows you to adjust colors, contrast, and other elements to achieve the desired look. Software like Adobe Lightroom or Photoshop is popular for editing. However, there are also many free editing tools available. When editing, start with basic adjustments like white balance, exposure, and contrast. Then, move on to more advanced techniques like color grading and sharpening. Be subtle with your edits, and avoid overdoing it. The goal is to enhance the photo, not to make it look artificial. Experiment with different editing techniques to find what works best for your style. Taking the time to edit your photos can significantly improve the final results.
Software and Basic Editing Techniques
There are several photo editing software options available, ranging from free apps to professional-grade programs. Lightroom and Photoshop are industry standards, offering powerful tools for editing. For beginners, there are simpler options like GIMP or free mobile apps. Start with basic adjustments like exposure, contrast, highlights, and shadows. These settings will help you correct any lighting issues and enhance the overall image. Adjust the white balance to ensure accurate colors. Color grading allows you to create a specific mood or look. Experiment with different color palettes. Sharpening can enhance the details of the car. However, be careful not to over-sharpen, as this can create unwanted artifacts. The best editing techniques are ones that enhance the picture without distracting from the main subject.
Enhancing Colors and Details
Enhancing colors and details is the final step in post-processing. Adjust the saturation and vibrance to make the colors pop. Be mindful of how you change the colors, as overdoing it can make the image look fake. Use the detail and clarity sliders to enhance the fine details of the car. However, again, be careful not to overdo it. Noise reduction is important, especially if you shot in low light. This will reduce any graininess in the image. Cropping and straightening the image can also improve the composition. Experiment with different editing techniques to find what works best for your photos. The goal is to make the diecast car look its best while maintaining a natural look. Take your time, and don’t be afraid to experiment. Your skills will improve over time.
