What You’ll Need
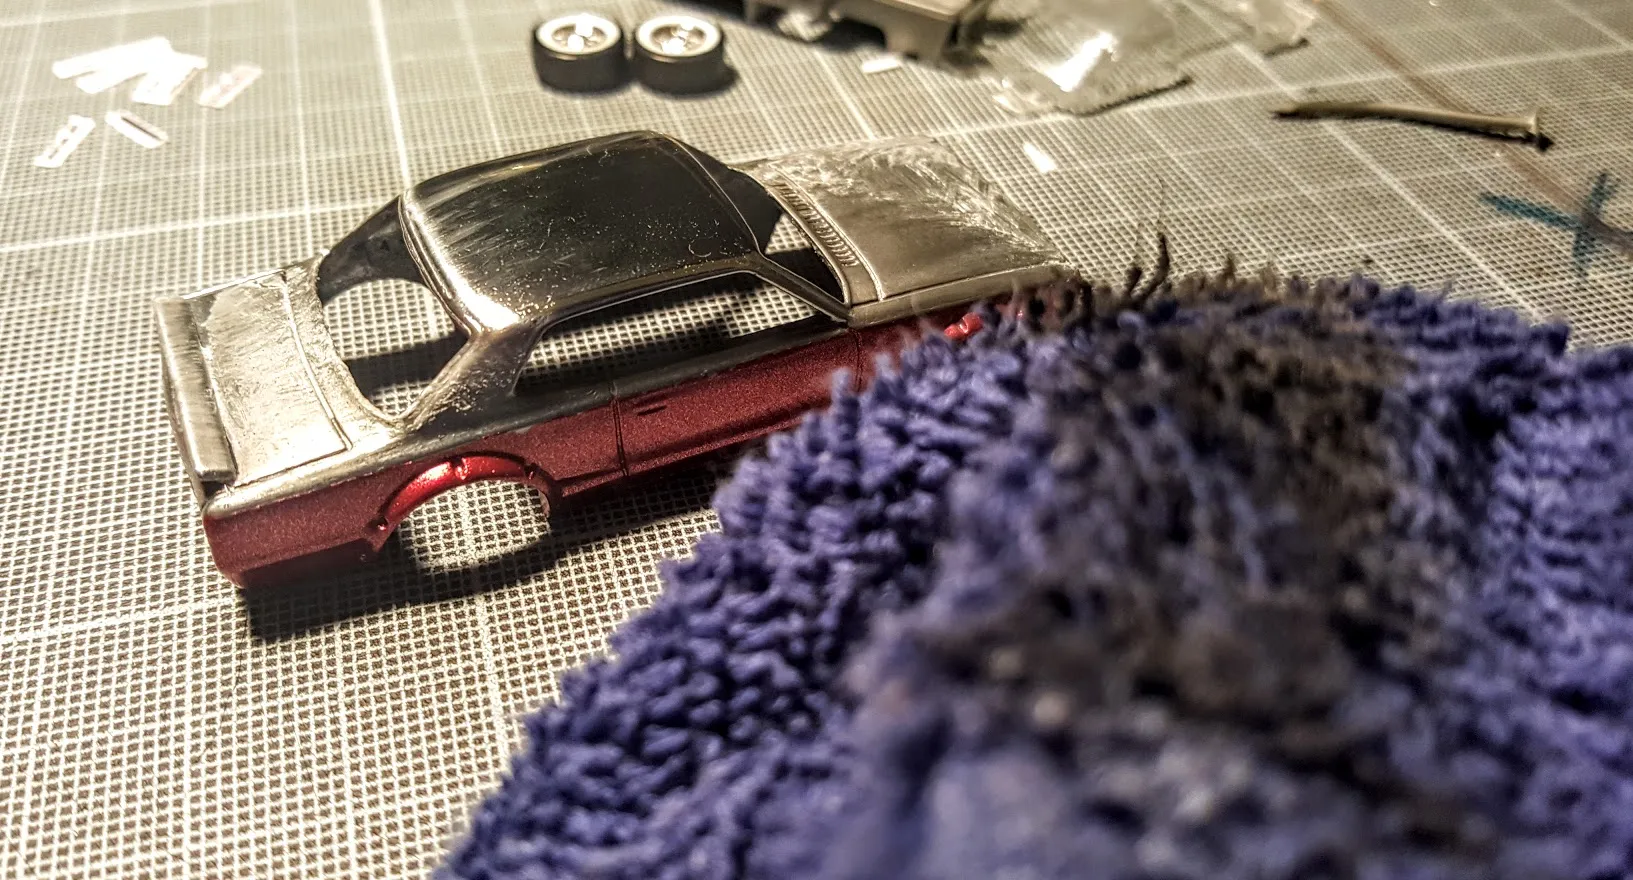
Before you begin polishing diecast cars, gather all the necessary supplies to ensure a smooth and effective process. Having the right tools and materials will not only make the job easier but also help you achieve superior results. You’ll want a soft microfiber cloth, detailing brushes of varying sizes, and a quality polishing compound specifically designed for automotive paint finishes. Consider also a dedicated wax or sealant for protection. A well-lit workspace is crucial; consider using a desk lamp or setting up in a well-lit area, and don’t forget protective gloves to keep your hands clean and prevent oils from transferring to the diecast car’s surface. By gathering all your supplies in advance, you’ll set yourself up for a more enjoyable and successful polishing experience. Make sure to select products appropriate for your car’s finish – some finishes are delicate and require specialized care to avoid damage.
Choosing the Right Polishing Tools
The tools you choose will greatly impact the final outcome when polishing diecast cars. Microfiber cloths are essential; they’re gentle, absorbent, and won’t scratch the delicate paint. Detailing brushes are great for reaching crevices and intricate parts, allowing you to remove any dirt or dust effectively. Consider a dual-action polisher for larger projects; it can significantly reduce the amount of manual labor required. For smaller or more detailed areas, a foam applicator pad can be perfect to avoid damaging the finish. Make sure your foam pads are of the right type, with a fine or ultra-fine grade for the polishing step. This will help create a smooth and gleaming surface. If you don’t want to invest in electric tools, then you can do the polishing manually using a microfiber cloth. Quality tools make all the difference in achieving that stunning, showroom shine.
Understanding the Types of Diecast Car Finishes
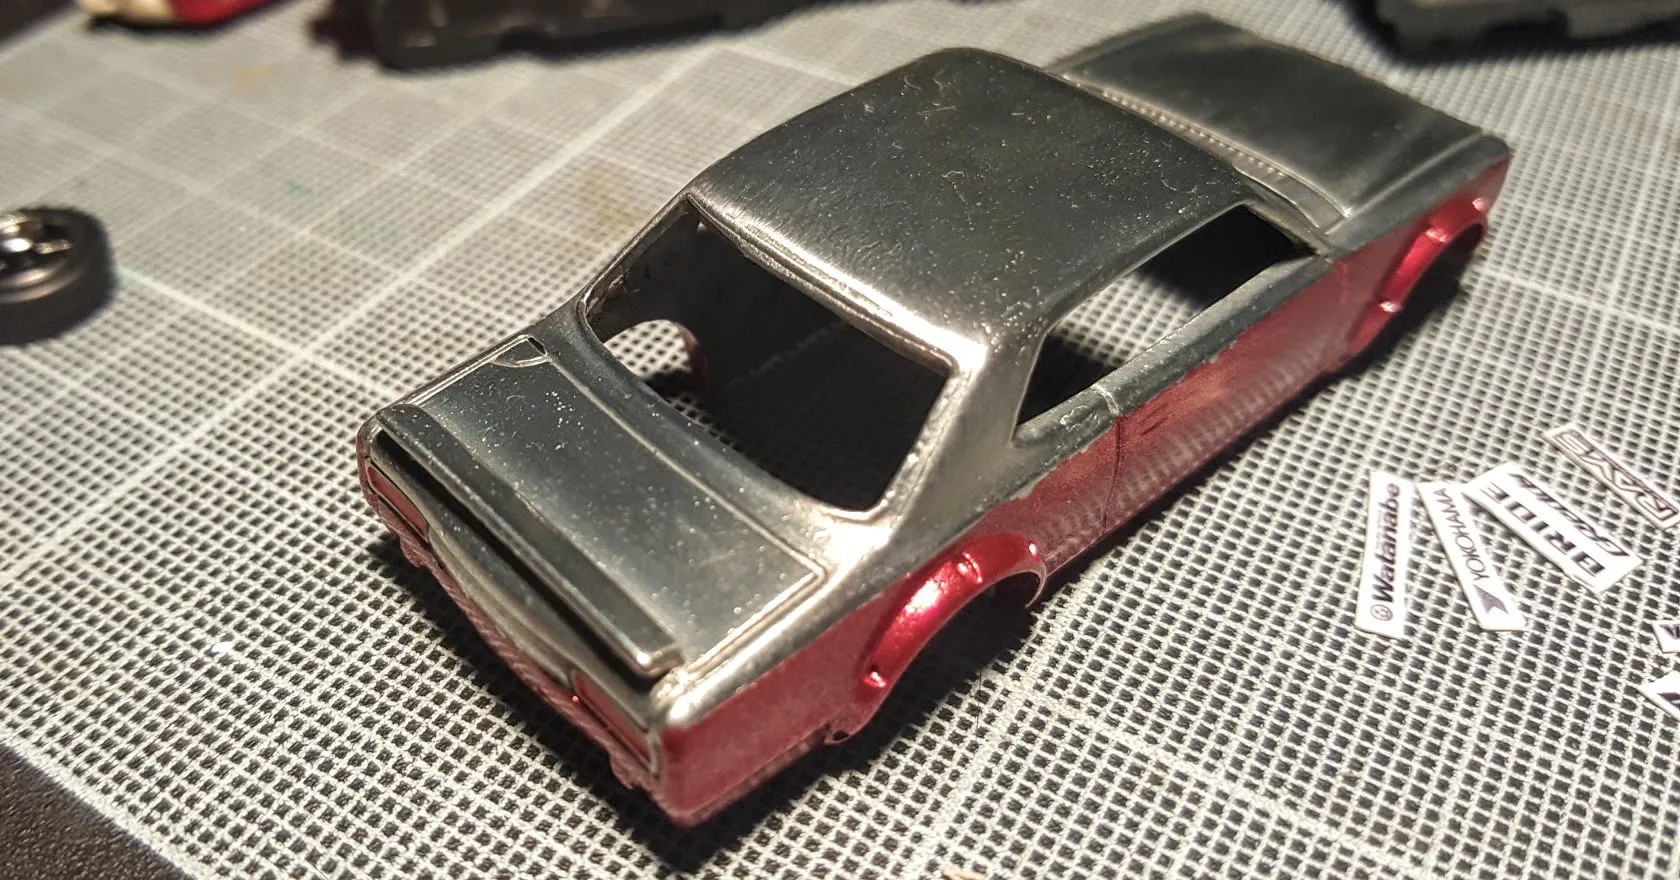
Diecast cars come with different paint finishes, and understanding these variations is vital for choosing the right polishing approach. Common finishes include enamel, lacquer, and acrylic paints. Enamel paints are generally more durable but can be prone to swirl marks. Lacquer paints offer a high-gloss appearance but can be softer and more susceptible to scratches, and acrylic paints are known for a balance of durability and shine. Before you begin polishing, identify the type of finish on your diecast car. This information will help you choose the appropriate polishing compound and method. Always start with a gentle approach, and gradually increase the intensity if needed. Test your products in a small, inconspicuous area first to ensure they don’t damage the finish.
Polishing Process Step by Step
Polishing diecast cars is a multi-step process. This process involves careful cleaning, polishing, and protecting the finish. By following each step diligently, you can transform your model cars and restore their shine. Each stage is essential to achieve that professional, eye-catching look. Take your time, work methodically, and enjoy the satisfaction of bringing out the best in your diecast car collection. The key to success is patience and attention to detail.
Step 1 Cleaning and Inspection
Begin by thoroughly cleaning the diecast car. This is a crucial first step to remove dirt, dust, and other debris that could scratch the paint during polishing. Use a soft microfiber cloth and a mild soap solution. Gently wipe the car’s surface, paying special attention to areas where dirt may accumulate, such as around the wheels and trim. Once clean, inspect the car for any existing imperfections, such as scratches, swirl marks, or oxidation. This inspection will guide your polishing efforts and help you choose the appropriate compound and tools. Ensure the car is completely dry before proceeding to the next steps, to avoid trapping moisture and causing potential paint damage. This cleaning step ensures that your efforts will result in a beautifully polished diecast car, ready to shine.
Step 2 Applying Polishing Compound
Apply a small amount of polishing compound to a clean microfiber cloth or foam applicator pad. Choose a compound appropriate for your diecast car’s paint finish. Start with a less aggressive compound if you are unsure, and gradually increase the strength if needed. Apply the compound in a circular motion, using gentle pressure. Focus on one area at a time, working in small sections to ensure even coverage. Avoid applying too much compound, as this can make the polishing process more difficult. Work the compound until it begins to become translucent, then proceed to the next step. Proper application of the polishing compound is essential for removing scratches and imperfections. Remember to take your time and pay attention to detail, and you will achieve excellent results when polishing your diecast cars.
Step 3 Polishing the Surface
After applying the polishing compound, it is time to polish the surface. Use a clean microfiber cloth or a dual-action polisher to work the compound into the paint. If using a polisher, set it to a low speed and gradually increase it as needed. Work in a circular motion, overlapping each pass to ensure even coverage. Pay attention to any problem areas, such as scratches or swirl marks. Continue polishing until the compound is almost completely gone and the paint surface begins to shine. If you are doing the polishing manually, use a clean microfiber cloth and apply gentle pressure. This step can be a bit time-consuming, but the results will be worth the effort. A little patience and elbow grease will make your diecast cars shine, ready to impress. The goal is to remove any imperfections and bring out the natural shine of the paint.
Step 4 Buffing to Achieve a Mirror Shine
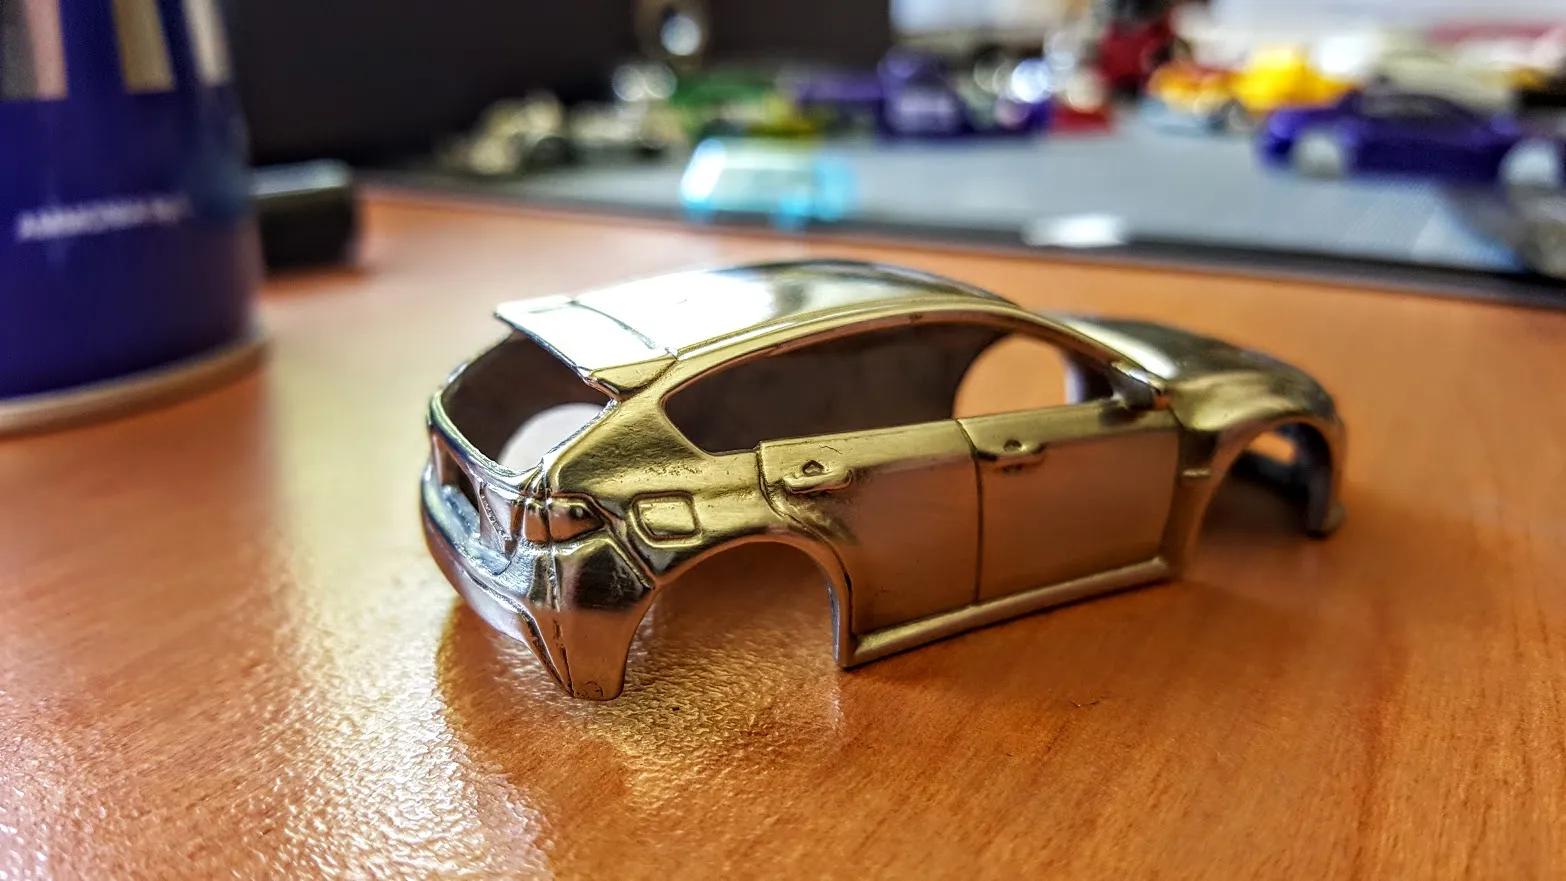
Once the polishing is complete, the next step is to buff the surface to achieve a mirror shine. Use a clean, dry microfiber cloth to remove any remaining compound residue. Gently wipe the surface in circular motions. This buffing process helps to enhance the shine and remove any last traces of the compound. For an even more impressive result, consider using a finishing polish. Apply a small amount to a clean microfiber cloth and buff the surface to create a deep, lustrous shine. Take your time and work in small sections. With patience, you’ll be able to achieve a finish that rivals the original factory shine. The result will be a beautifully polished diecast car with an eye-catching luster.
Step 5 Protecting the Finish
Protecting your polished diecast cars is just as important as the polishing process. Once you have achieved the desired shine, apply a wax or sealant to protect the paint from environmental elements. These products create a protective barrier against UV rays, dust, and minor scratches. Apply the wax or sealant according to the manufacturer’s instructions. This usually involves applying a thin, even layer and allowing it to cure before buffing it off. Use a clean microfiber cloth to buff the wax or sealant, revealing a beautiful, protected shine. Regular maintenance with these products can prolong the life and appearance of your diecast cars. By applying wax or sealant, you’re creating a lasting finish that can endure time.
Final Touch-Ups and Detailing
After polishing and protecting your diecast cars, it is time for the final touch-ups and detailing. Examine the car for any remaining imperfections. Use detailing brushes to clean hard-to-reach areas, such as around the wheels, grills, and trim. Remove any streaks or smudges with a clean microfiber cloth. Consider adding details to make the model even more realistic, such as applying a tiny amount of polish to the chrome parts to give it an extra shine. This step is about refining the details. It is about making the car look its absolute best. With these final touches, your diecast cars will look their best. Your hard work and attention to detail will be reflected in the final appearance.
Common Mistakes to Avoid
When polishing diecast cars, it’s important to avoid common mistakes that can damage the finish. Using abrasive compounds on delicate paint finishes can cause scratches and swirl marks. Applying too much pressure can also damage the paint, so use gentle pressure when polishing. Don’t use dirty cloths or applicators, as they can introduce scratches. Avoid polishing in direct sunlight, as it can cause the compound to dry too quickly and make it harder to remove. Rushing the process is another mistake. Take your time and work methodically for the best results. By avoiding these common mistakes, you can ensure your diecast cars look their best. Remember to always test products in a small, inconspicuous area before applying them to the entire car.
Maintaining Your Polished Diecast Cars
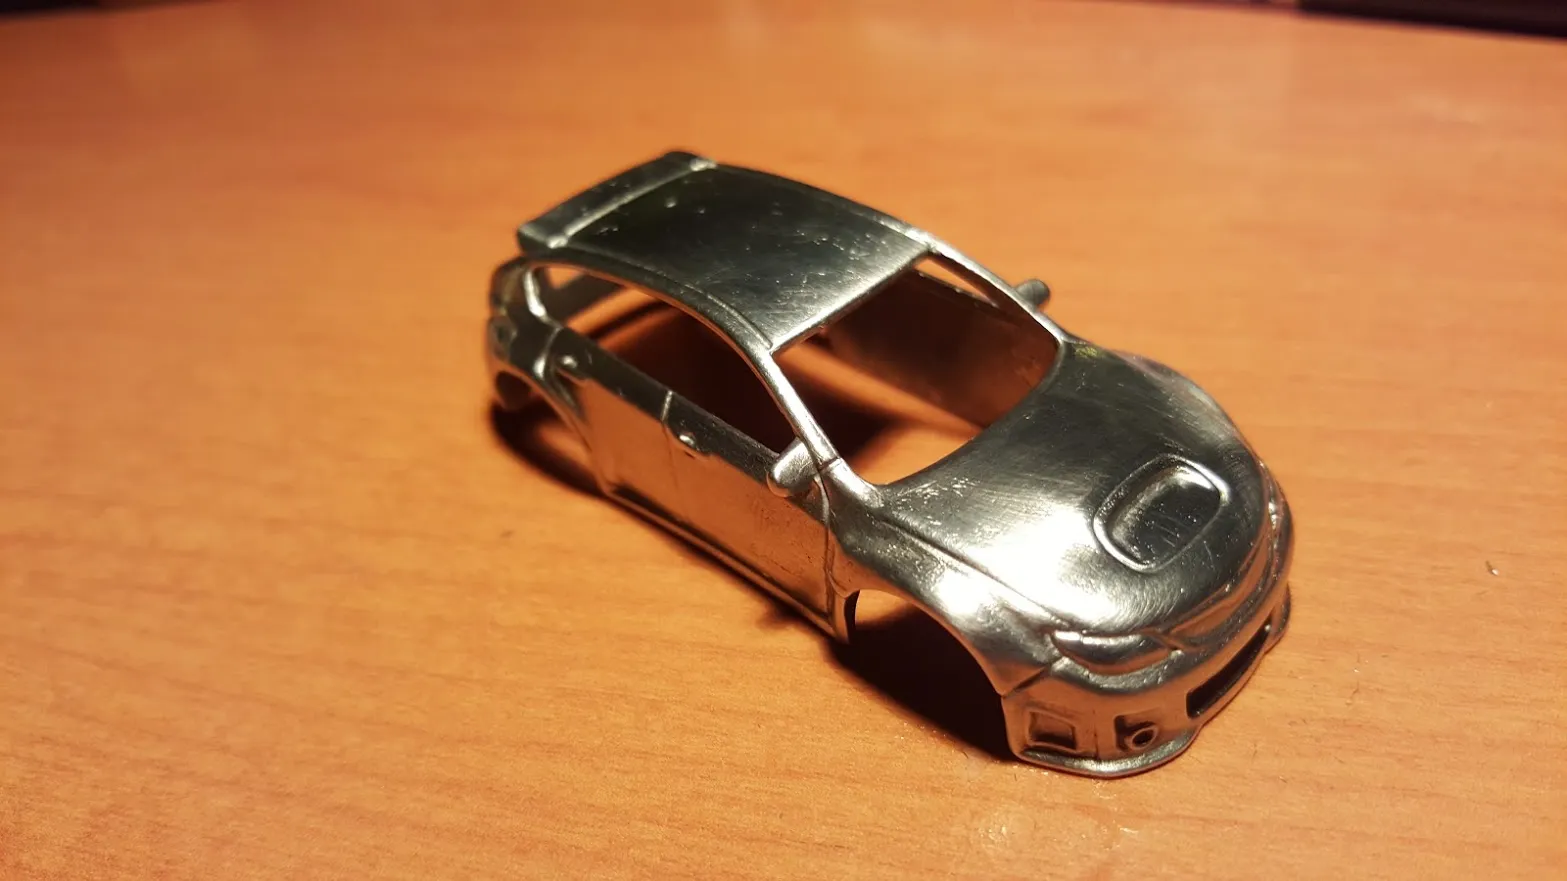
Maintaining your polished diecast cars is key to preserving their shine and appearance. Regularly dust your models with a soft microfiber cloth. Avoid using harsh chemicals or cleaners that can damage the finish. Store your diecast cars in a cool, dry place, away from direct sunlight. Consider using display cases or dust covers to protect them from dust and scratches. Reapply wax or sealant periodically to maintain the protective layer. By following these maintenance tips, you can keep your diecast cars looking their best for years to come. Regular care will extend the life of your model car collection. Your dedication to maintaining your diecast cars will ensure their value and beauty over time.
